-
-
Before disassembly, thoroughly wash and dry your hands. Power down device.
-
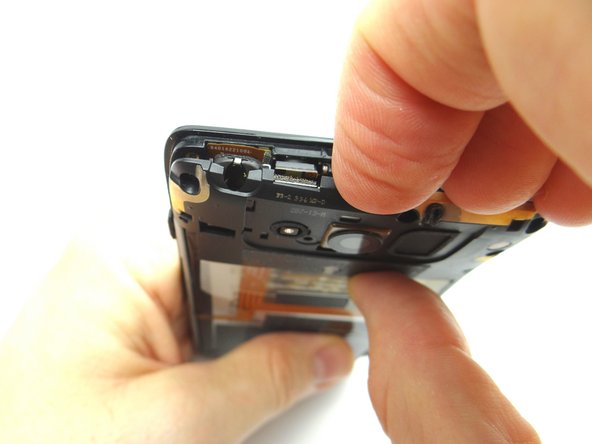
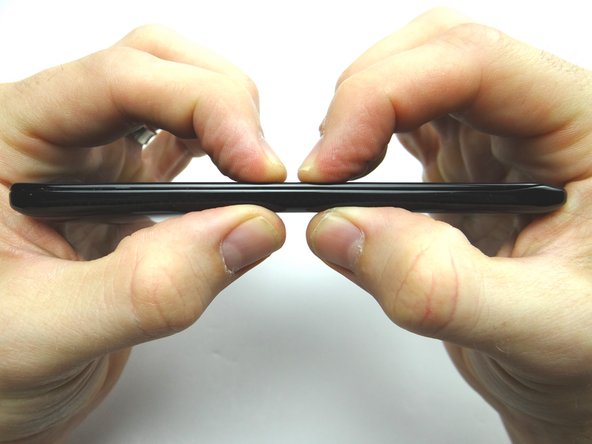
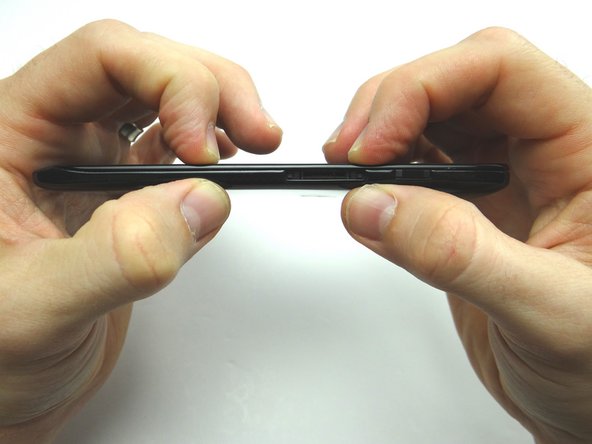
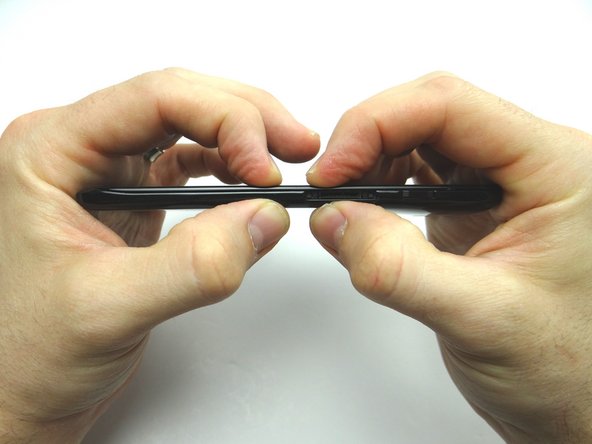
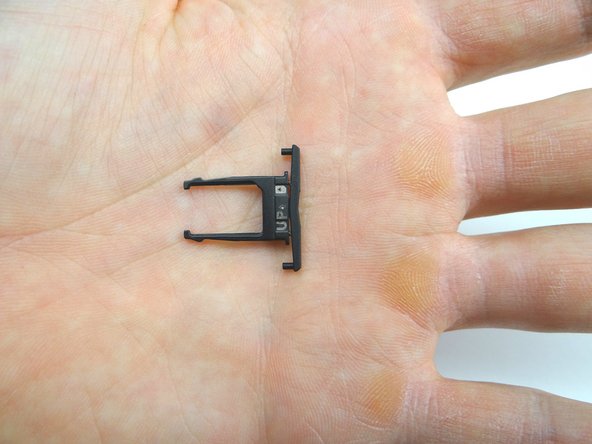
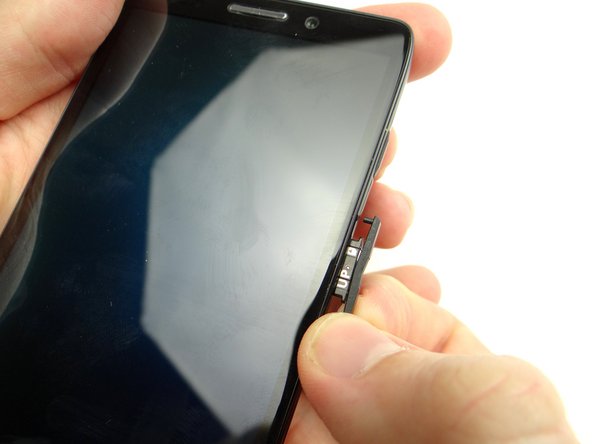
The volume rocker doubles as a SIM card tray: pull it out with your fingers. Place SIM card tray and SIM card (if present) in COMPARTMENT A.
-
-
-
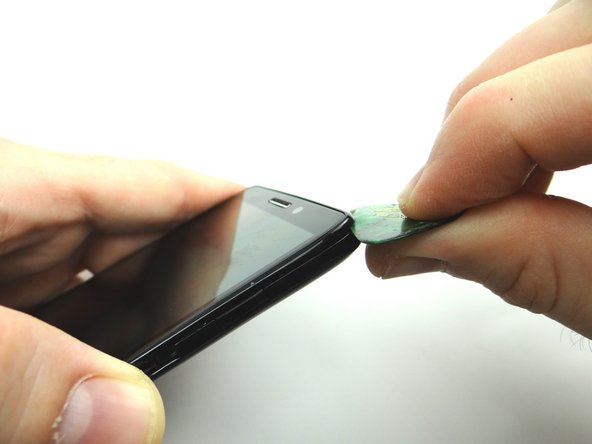
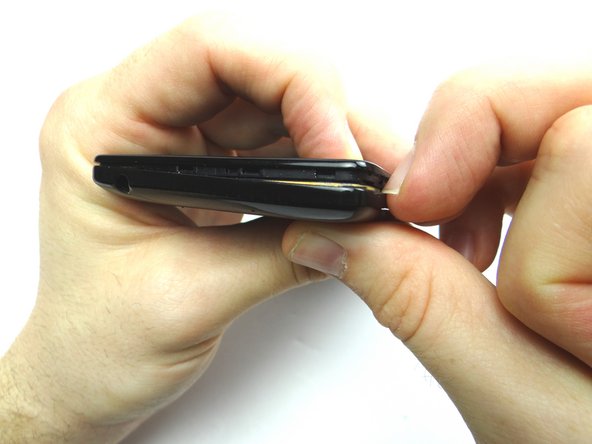
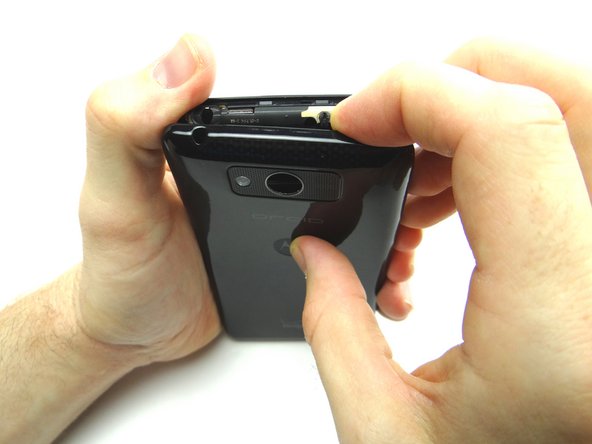
Picture 1: Insert guitar pick between the front panel and battery cover in the upper-right corner. Sweep down from the corner to SIM card tray opening.
-
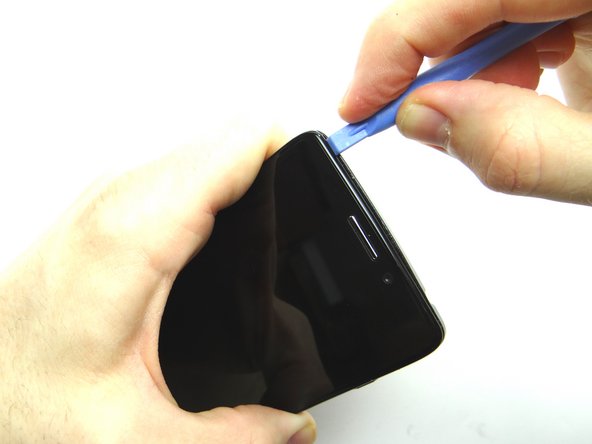
Picture 2: Insert blue pry tool in the upper-left corner, then work your way across the top edge.
-
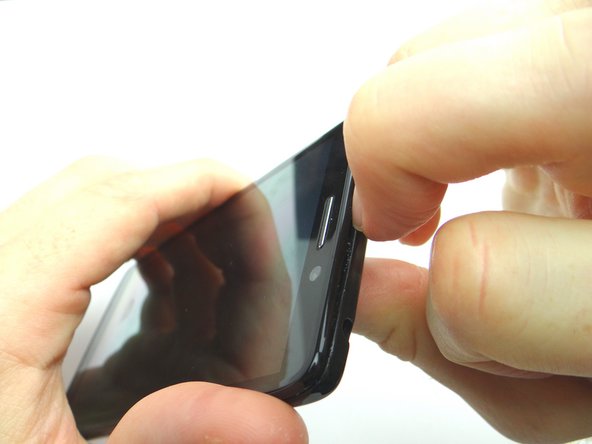
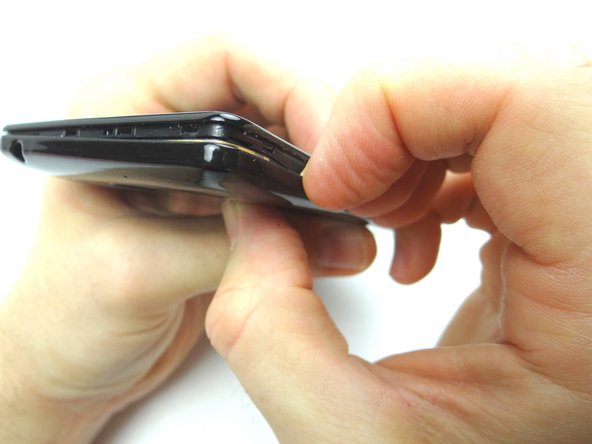
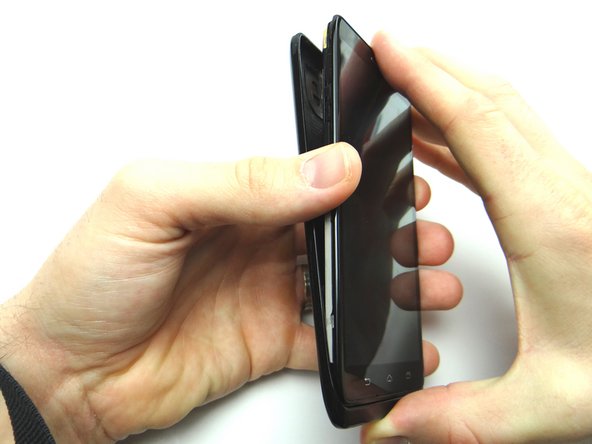
Picture 3: Snag the top of the battery cover with your fingernail and pull it slightly away from the front panel.
-
-
-
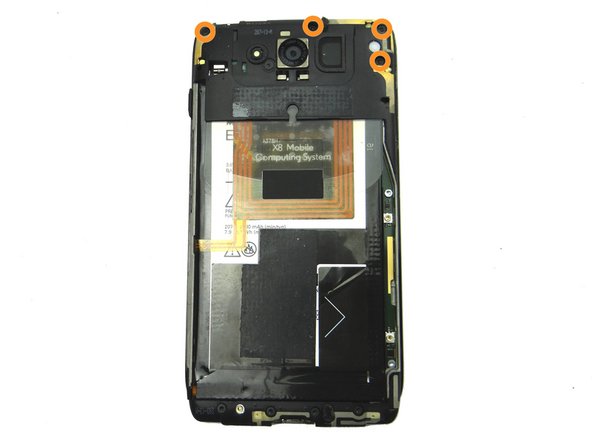
Picture 1: Remove 6.3 mm T3 Torx screw near the lower-left edge of the camera. Place in SLOT 1.
-
Picture 2: Remove four 4.1 mm T5 Torx screws. Place in SLOT 2.
-
-
-
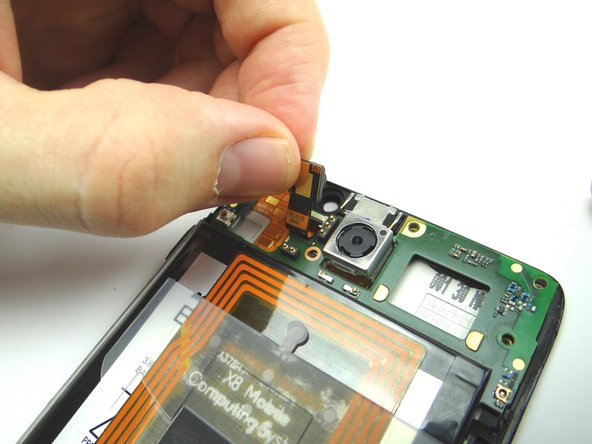
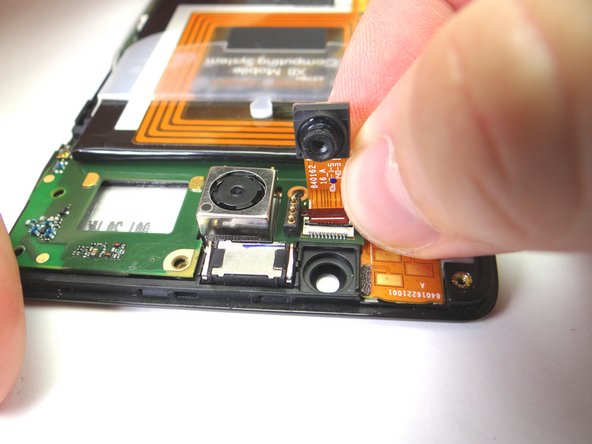
Picture 1: Gently pull front-facing camera up from its socket, but don't try to remove it!
-
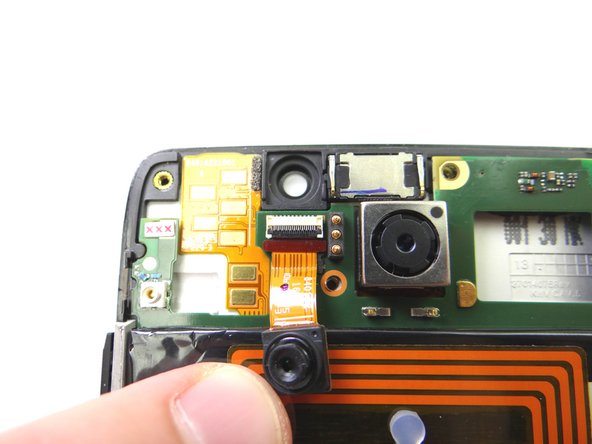
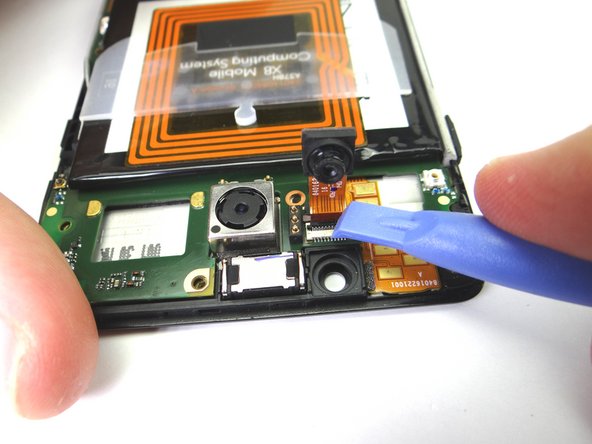
Pictures 2: Fold back the front-facing camera to access the ZIF connector.
-
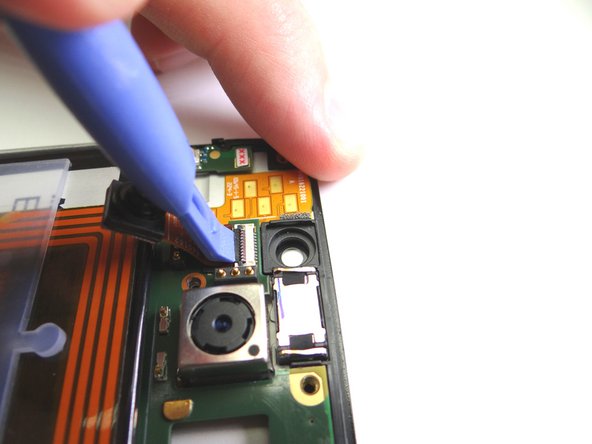
Picture 3: Use the blue pry tool to lift the black swing bar to open the ZIF connector.
-
-
-
Retrieve front-facing camera from COMPARTMENT C.
-
Push camera cable into ZIF connector.
-
Close ZIF connector with blue pry tool.
-
-
-
Seat top panel at the top of the phone.
-
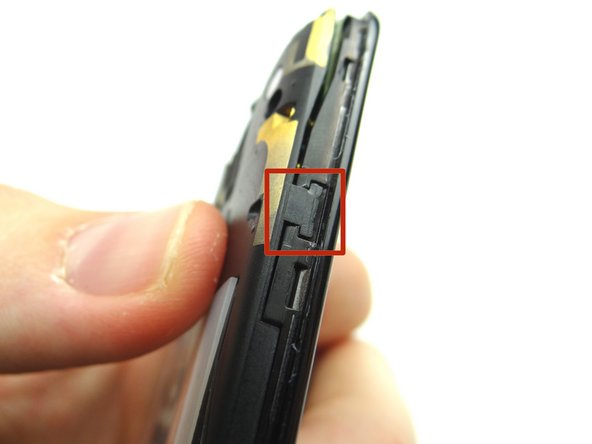
Push the marked clip into place.
-
-
-
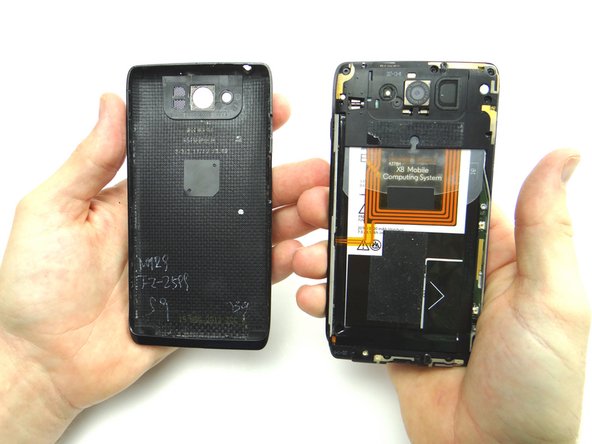
Retrieve battery cover from ZONE I.
-
Slide front panel into the bottom of the battery cover.
-