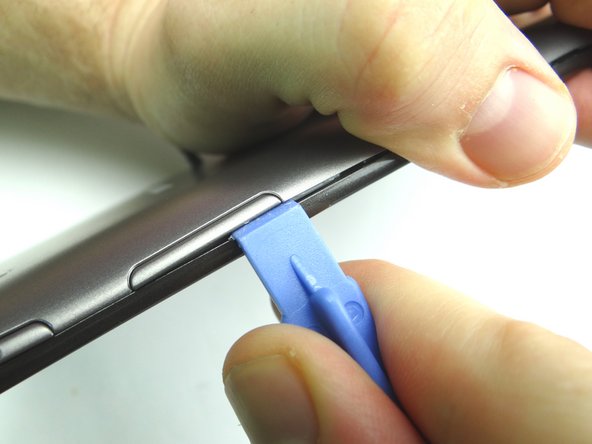
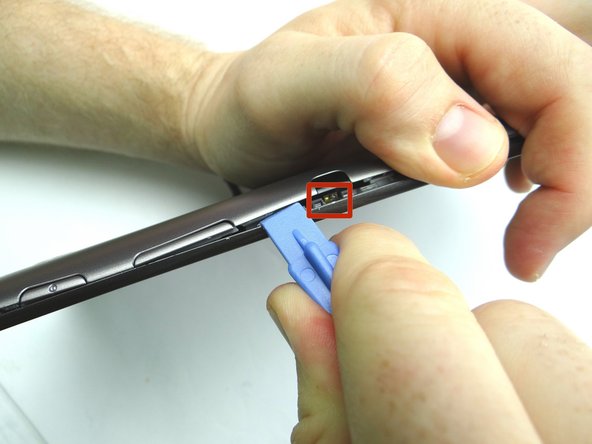
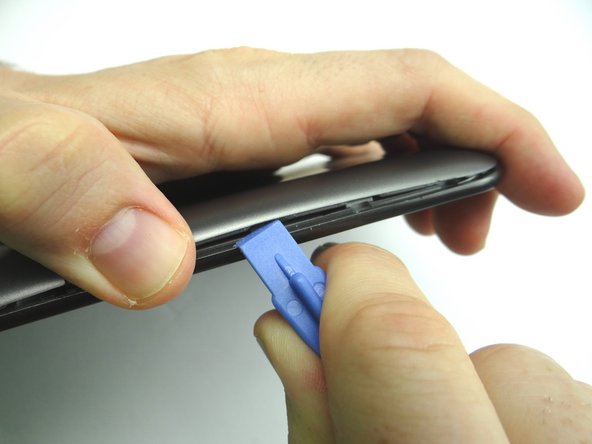
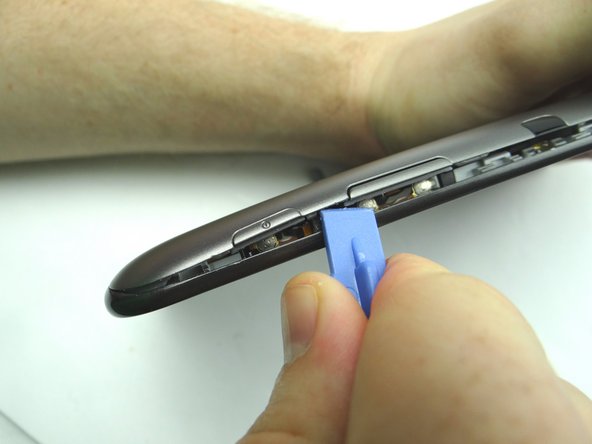
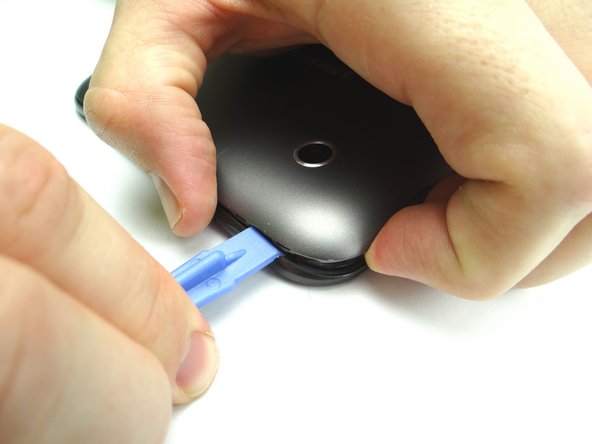
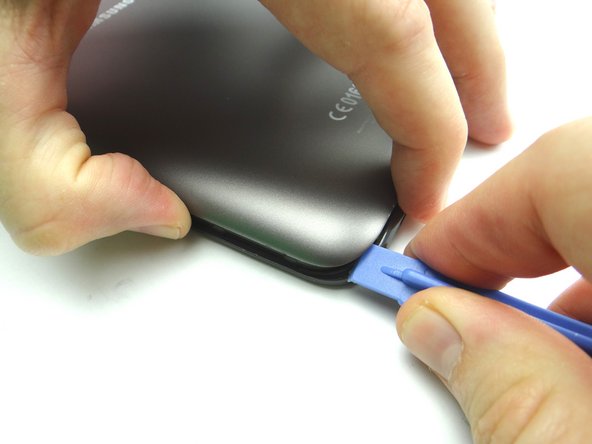
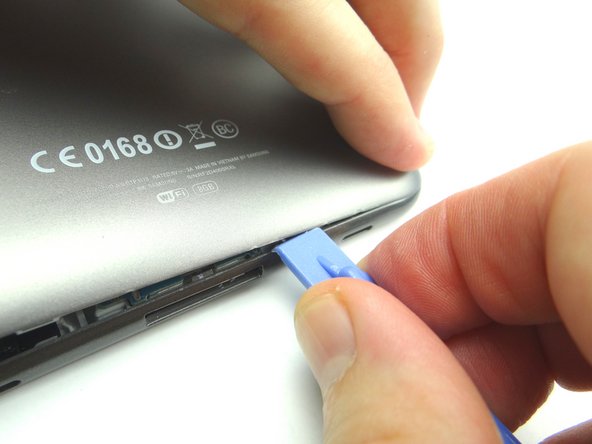
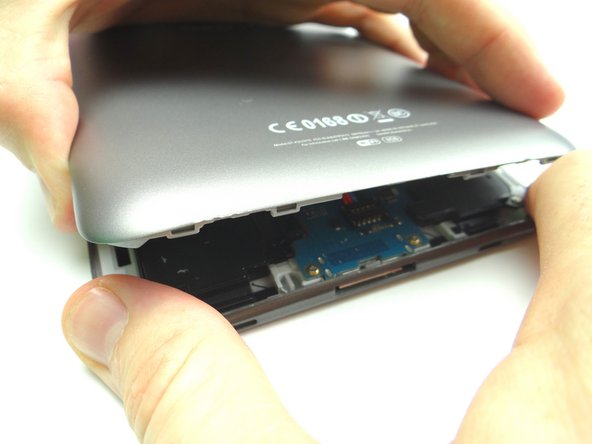
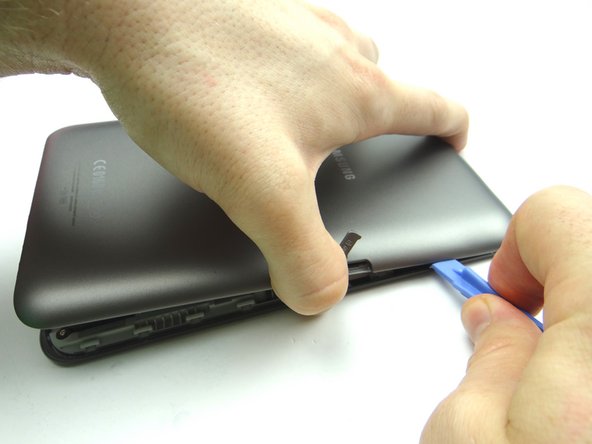
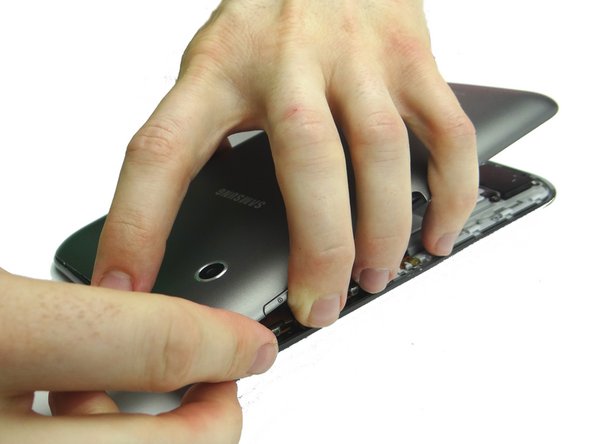
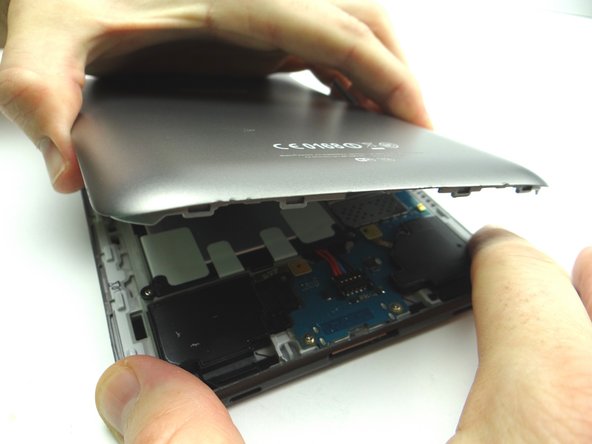
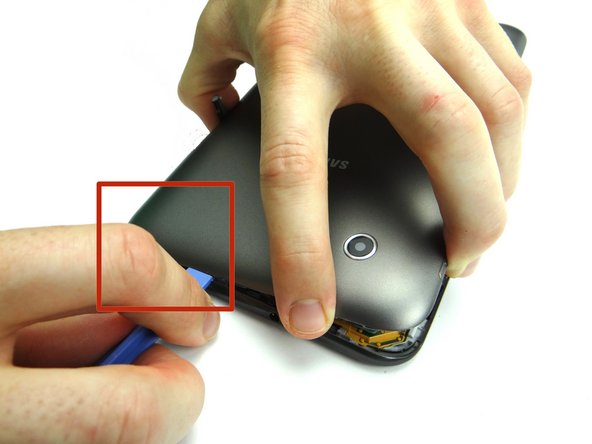
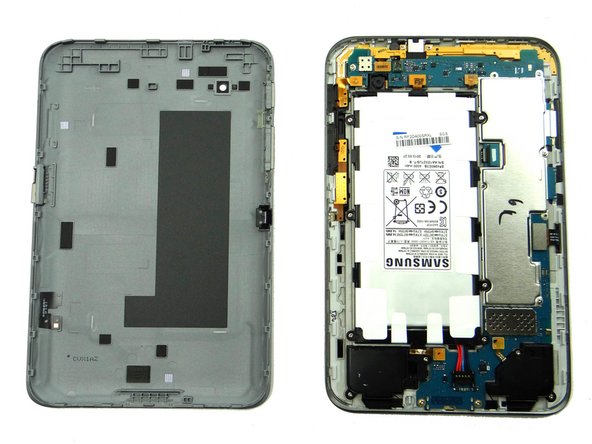
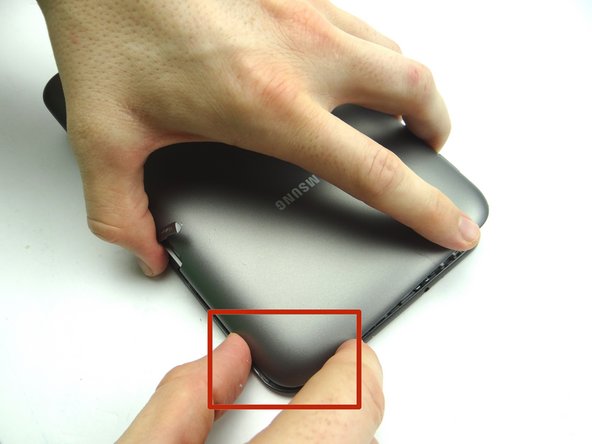
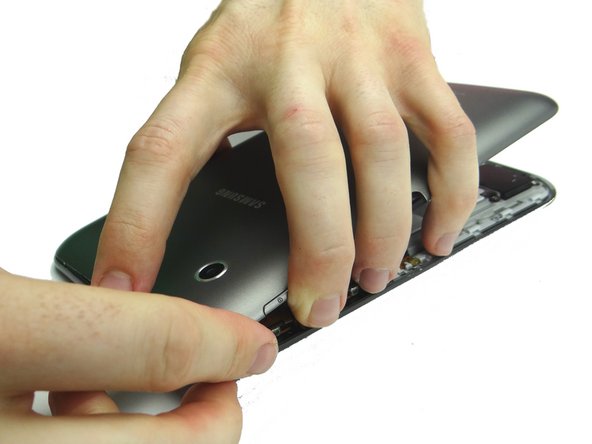
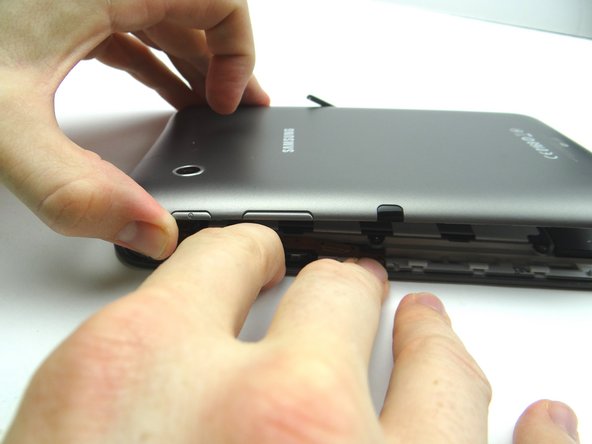
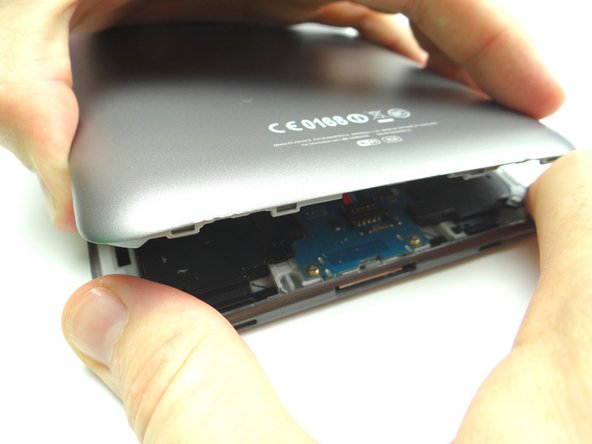
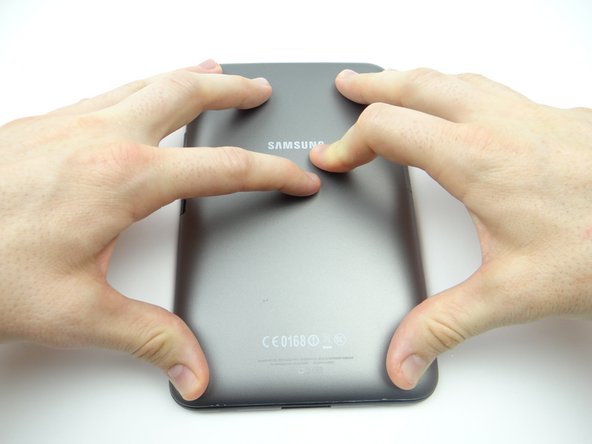
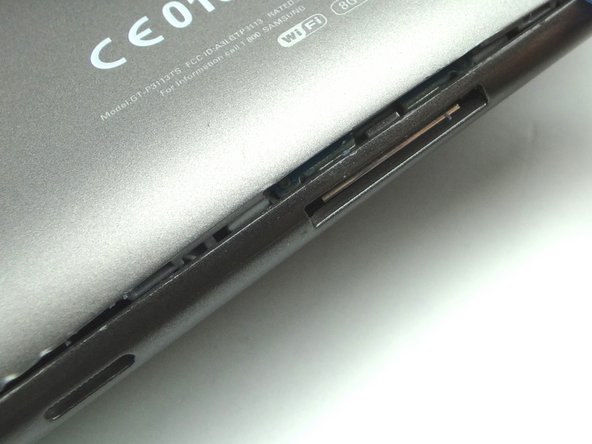
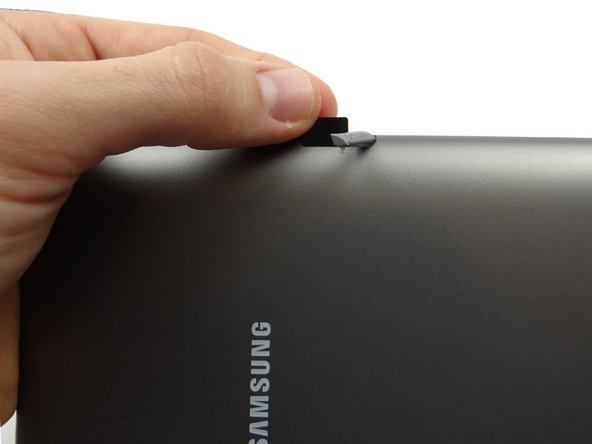
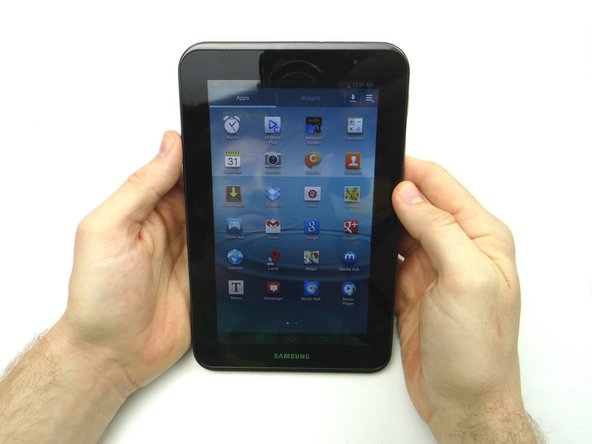
1. Power down device. Remove SD card.  Place in COMPARTMENT A. In the next few steps, you'll be removing the battery cover by freeing the clips marked in Picture 3.
    • Power down device.

    • Remove SD card. Place in COMPARTMENT A.

    • In the next few steps, you'll be removing the battery cover by freeing the clips marked in Picture 3.

  2. Insert the blue pry tool face down, above the left edge of the charging port, between the battery cover and front panel. Sweep carefully to the right.
    • Insert the blue pry tool face down, above the left edge of the charging port, between the battery cover and front panel.

    • Sweep carefully to the right.

  3. Picture 1: Insert wide blue pry tool below the bottom half of the volume rocker. Picture 2: Sweep between the volume rocker and infrared sensor cover.  Twist counter-clockwise to pop up.  Grab the battery cover with your thumb to hold it open. Don't sweep past the infrared sensor (red square in Picture 2).
    • Picture 1: Insert wide blue pry tool below the bottom half of the volume rocker.

    • Picture 2: Sweep between the volume rocker and infrared sensor cover. Twist counter-clockwise to pop up. Grab the battery cover with your thumb to hold it open.

    • Don't sweep past the infrared sensor (red square in Picture 2).

    • Picture 3: Reinsert the wide blue pry tool half an inch past the infrared sensor and continue working your way down towards the corner. Continue peeling up with your thumb in the opposite hand.

  4. Picture 1: Insert   between the volume rocker and power button.  Gently twist to pry up. Picture 2: Insert near the corner as shown and gently twist to pry up.
    • Picture 1: Insert between the volume rocker and power button. Gently twist to pry up.

    • Picture 2: Insert near the corner as shown and gently twist to pry up.

  5. Picture 1: Insert near the corner as shown and gently twist to pry up. Picture 2: Sweep along the bottom with the blue pry tool while peeling up with your fingers.
    • Picture 1: Insert near the corner as shown and gently twist to pry up.

    • Picture 2: Sweep along the bottom with the blue pry tool while peeling up with your fingers.

  6. Picture 1: Pull up the battery cover until you feel tension near the SD card slot and/or volume rocker: Picture 2: Sweep blue pry tool under SD slot to free the clips. Picture 3: Guide the volume rocker and power buttons up with your fingers.
    • Picture 1: Pull up the battery cover until you feel tension near the SD card slot and/or volume rocker:

    • Picture 2: Sweep blue pry tool under SD slot to free the clips.

    • Picture 3: Guide the volume rocker and power buttons up with your fingers.

  7. Picture 1: The cover may get stuck in the upper-right corner. Picture 2: Bring the cover back down until it's nearly flat.  Work your way around the corner with the blue pry tool to finish separating the battery cover from the front panel. Picture 3: Place battery cover in ZONE V.
    • Picture 1: The cover may get stuck in the upper-right corner.

    • Picture 2: Bring the cover back down until it's nearly flat. Work your way around the corner with the blue pry tool to finish separating the battery cover from the front panel.

    • Picture 3: Place battery cover in ZONE V.

  8. Picture 1: Seat this corner first. Picture 2: Continue seating top edge. Picture 3: Make sure the power button and volume rocker seat properly and you push the sides into place.
    • Picture 1: Seat this corner first.

    • Picture 2: Continue seating top edge.

    • Picture 3: Make sure the power button and volume rocker seat properly and you push the sides into place.

  9. Picture 1: Close the bottom edge Picture 2: Continue pushing all clips into place. Picture 3: Check each edge to make sure the clips are pushed down.  Double-check near the charging port.
    • Picture 1: Close the bottom edge

    • Picture 2: Continue pushing all clips into place.

    • Picture 3: Check each edge to make sure the clips are pushed down. Double-check near the charging port.

  10. Replace SD card from COMPARTMENT A. Power up the device and test the replacement part or parts.
    • Replace SD card from COMPARTMENT A.

    • Power up the device and test the replacement part or parts.

Finish Line

James Linder

Member since: 01/24/2013

71,591 Reputation

217 Guides authored

0 Comments

Add Comment

View Statistics:

Past 24 Hours: 0

Past 7 Days: 0

Past 30 Days: 0

All Time: 30

CELL PHONE SANDBOX