
-
-
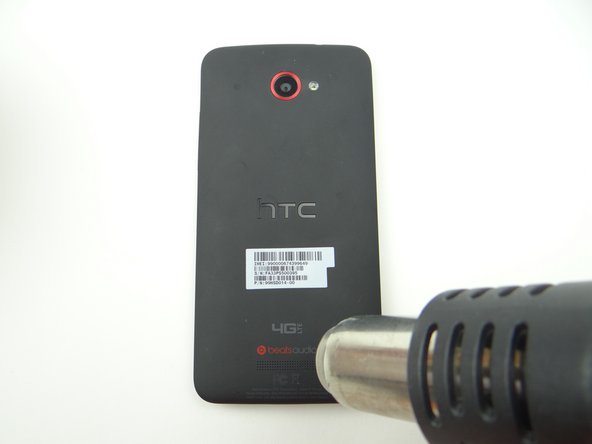
Power down device.
-
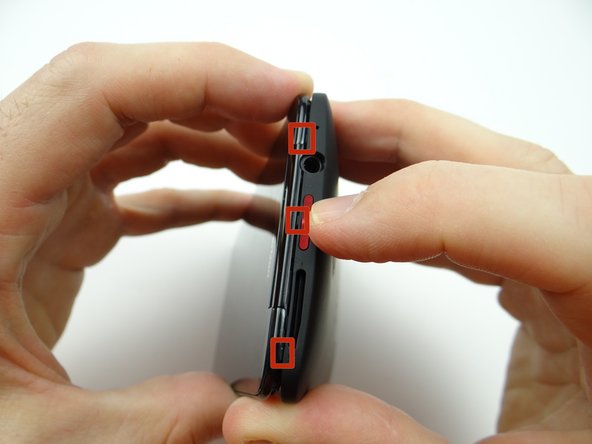
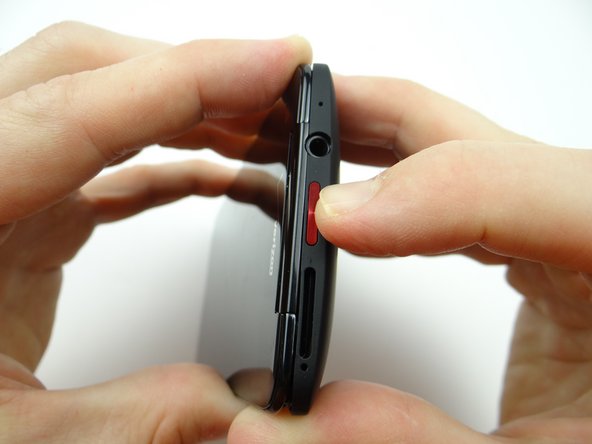
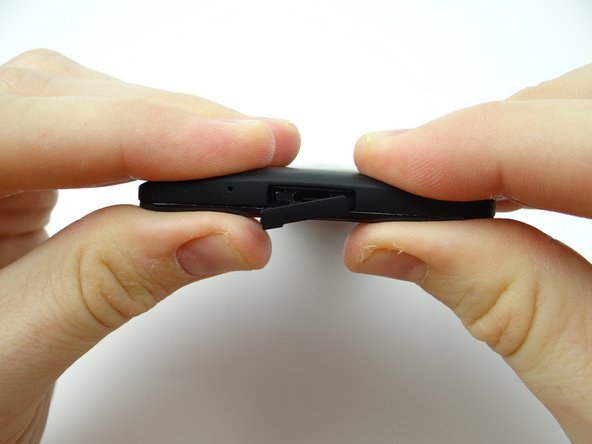
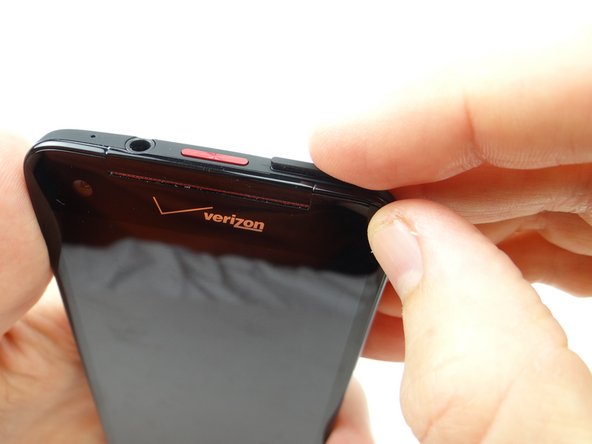
Push down on SIM card ejector slot with a paper clip to pop up the tray.
-
Finish removing the SIM card tray with your fingers. Place SIM card and tray in COMPARTMENT A.
-
-
-
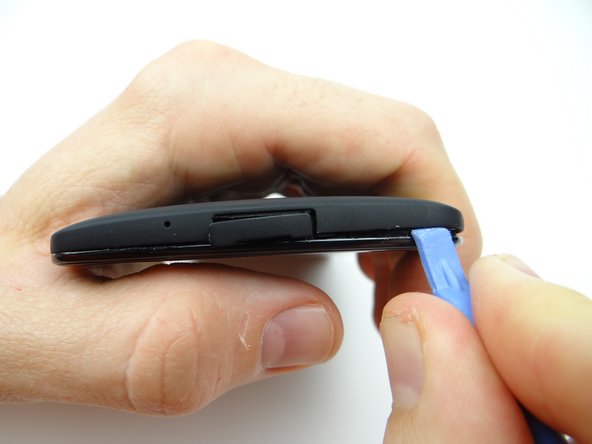
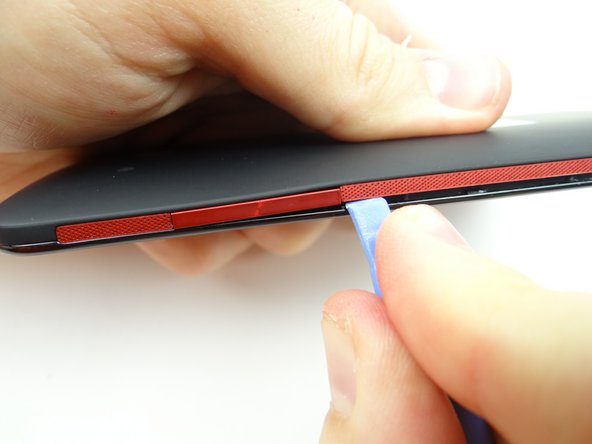
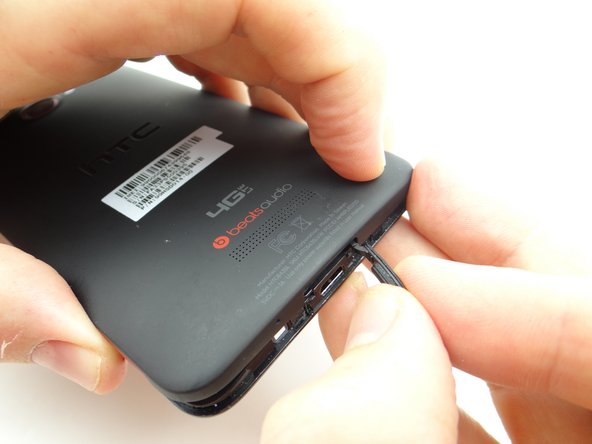
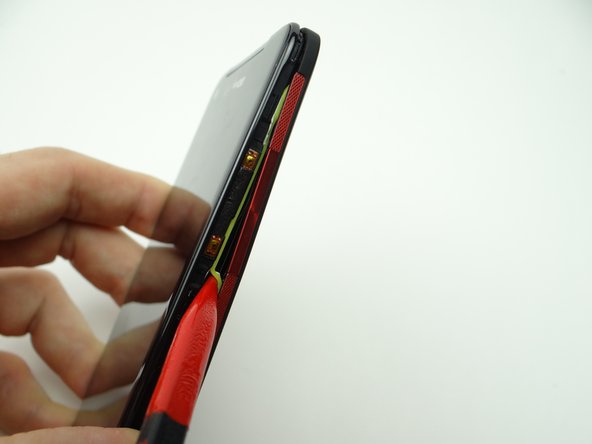
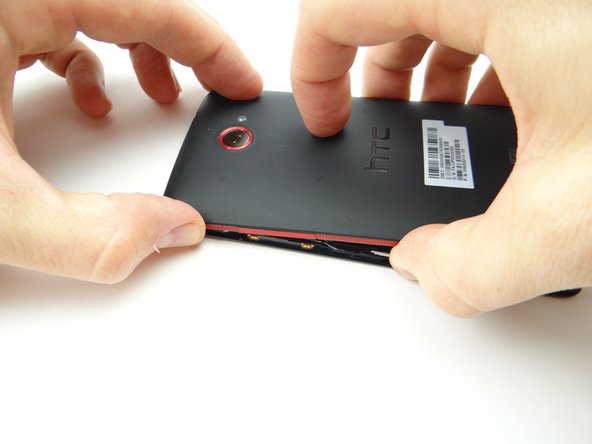
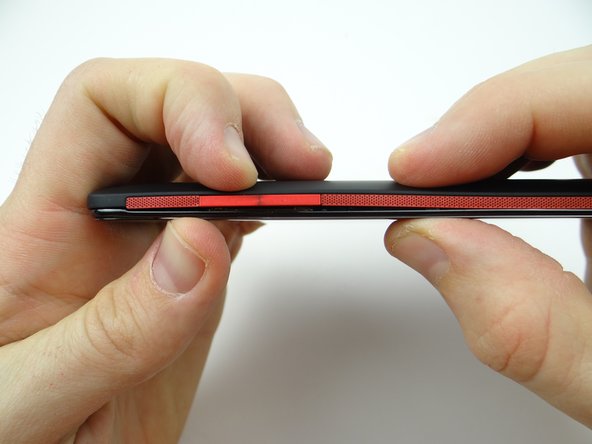
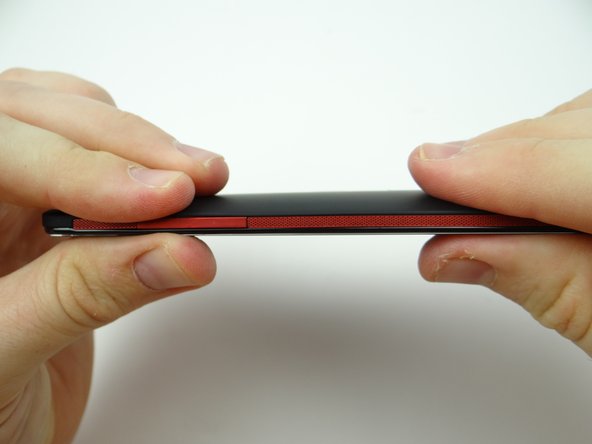
Picture 1: Sweep along the bottom edge from left to right releasing clips holding the battery cover down.
-
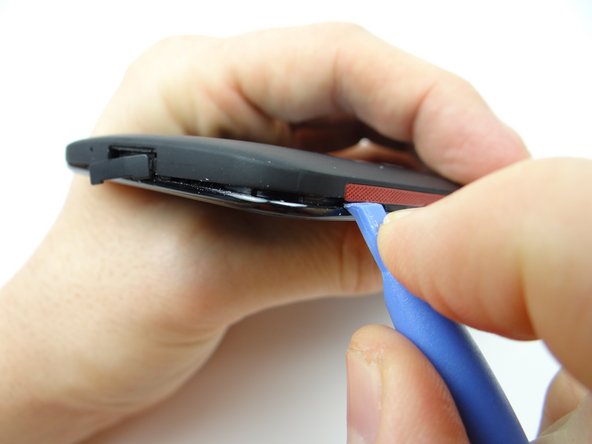
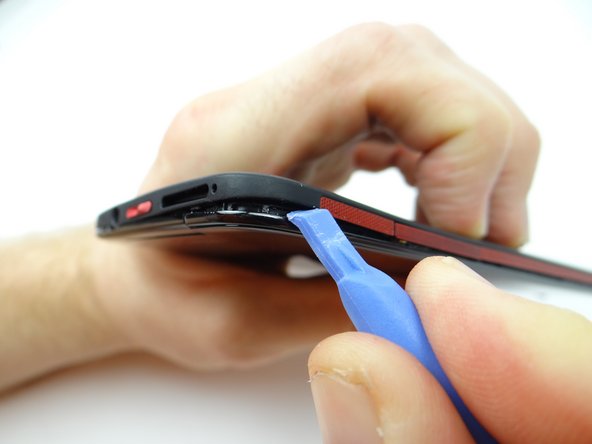
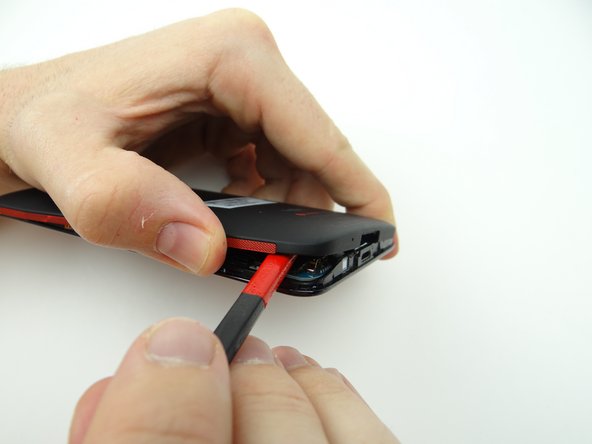
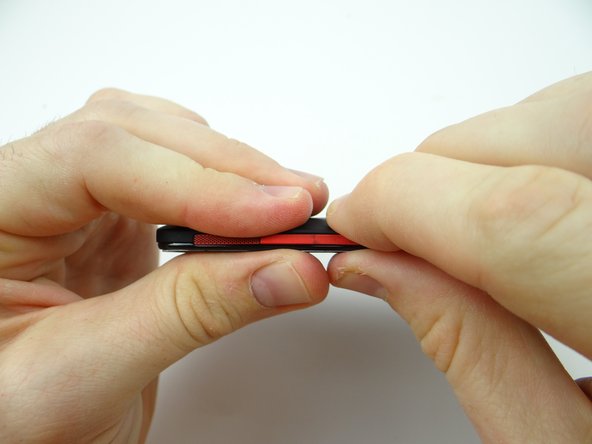
Picture 2: Slowly work your way around the corner gently prying up as you go.
-
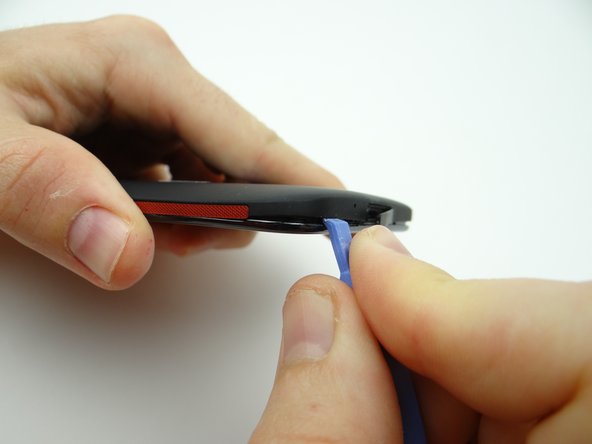
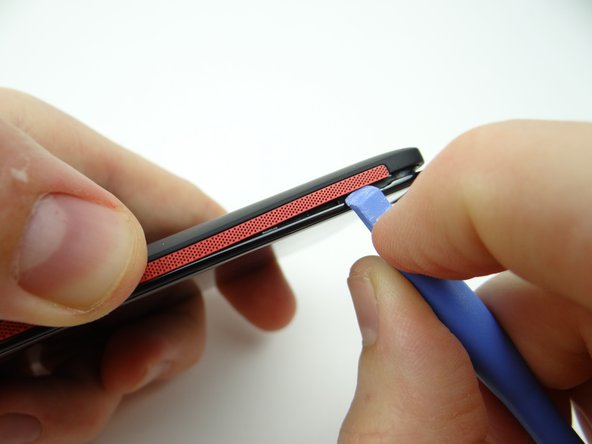
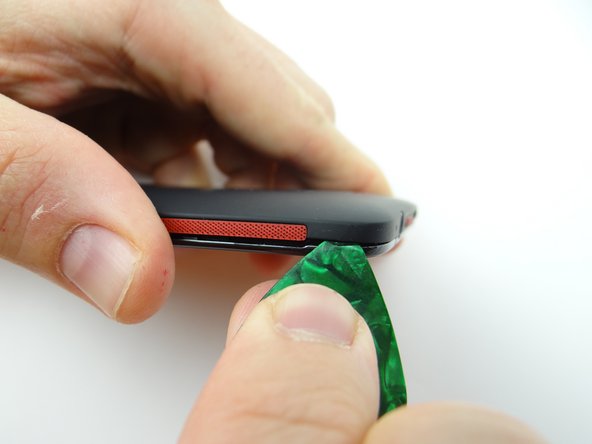
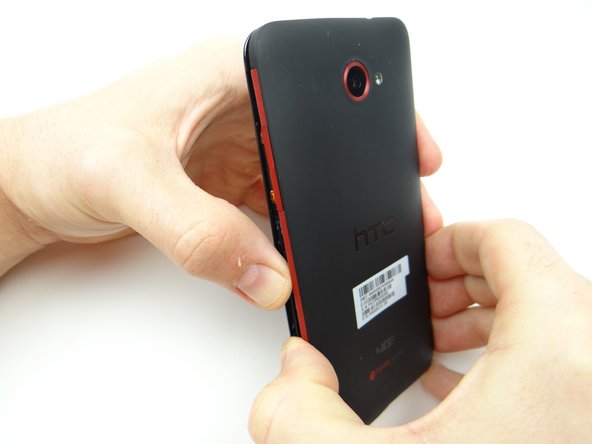
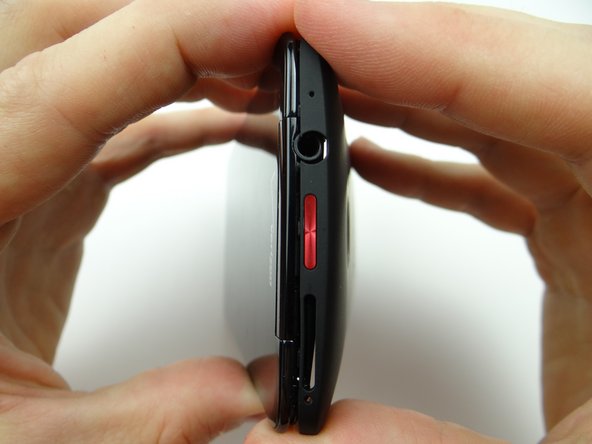
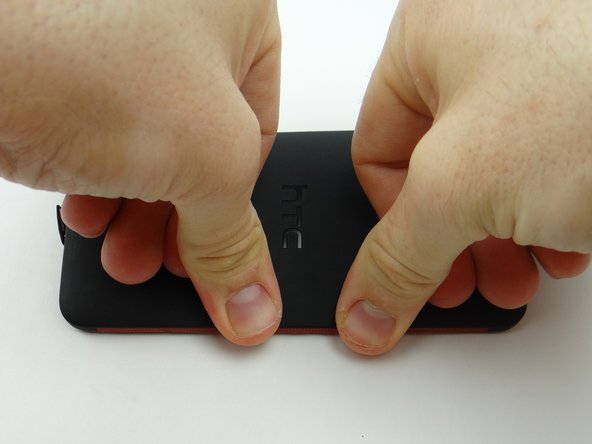
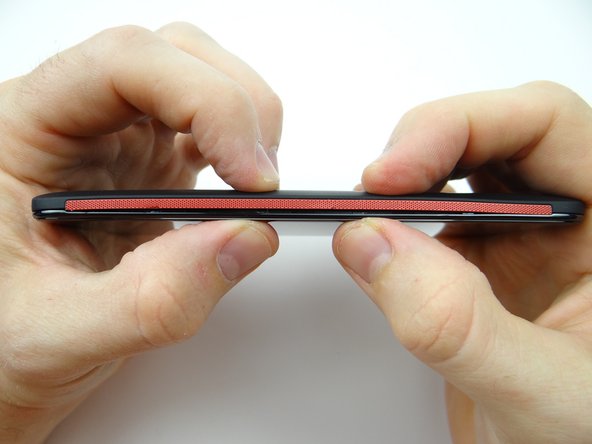
Picture 3: Work your way up the side (the side opposite the volume rocker), holding the battery cover up with your thumb.
-
-
-
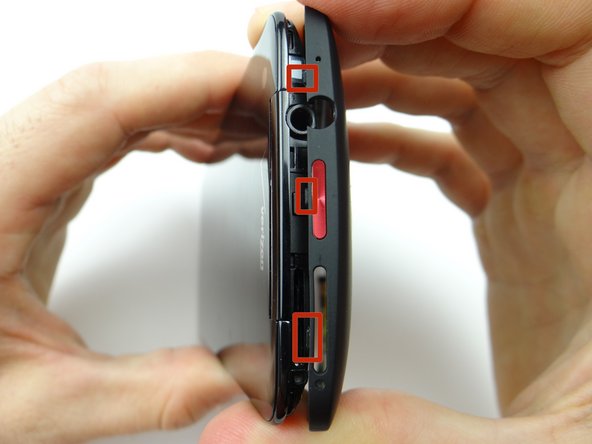
From ZONE I, replace battery cover:
-
Pictures 1 & 2: Align tabs first.
-
Picture 3: Push top of battery cover into place.
-


Almost done!
Finish Line