Parts
No parts specified.
-
-
Before disassembly, thoroughly wash and dry your hands.
-
Remove the battery cover and battery. Place in ZONE I.
-
Remove SIM card and SD card. Place in COMPARTMENT A.
-
-
-
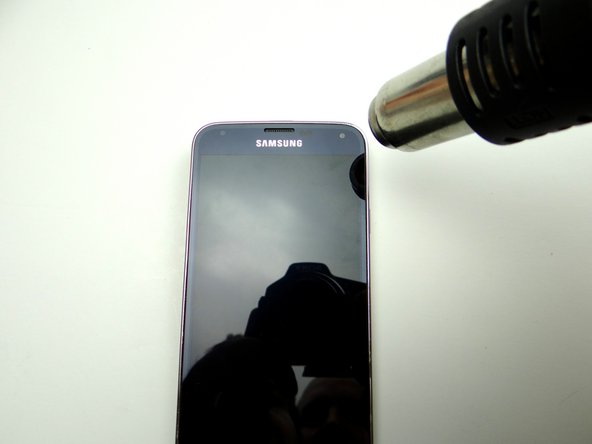
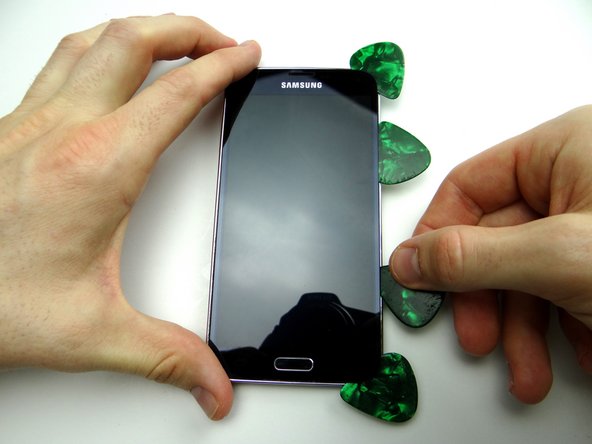
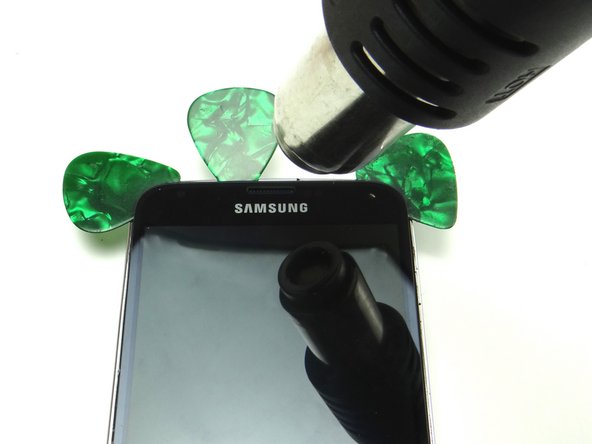
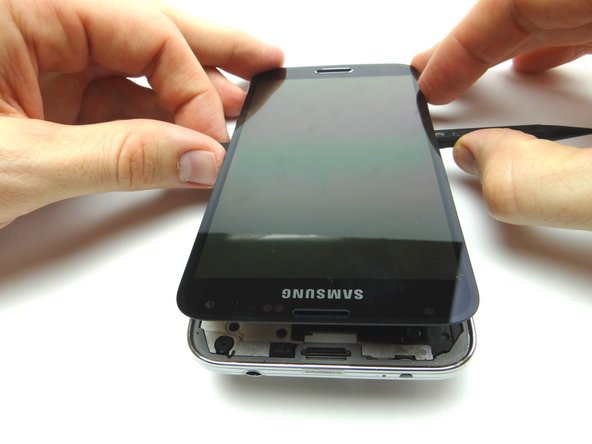
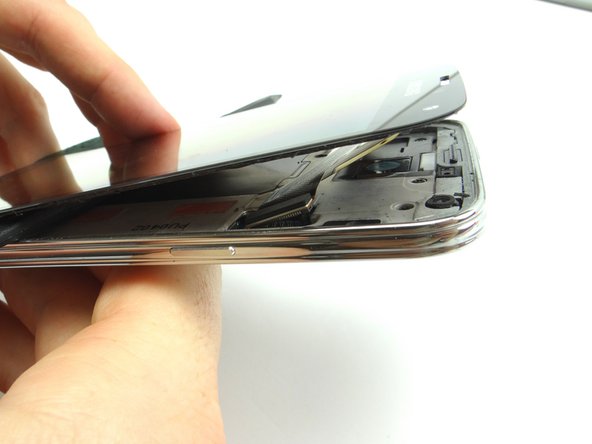
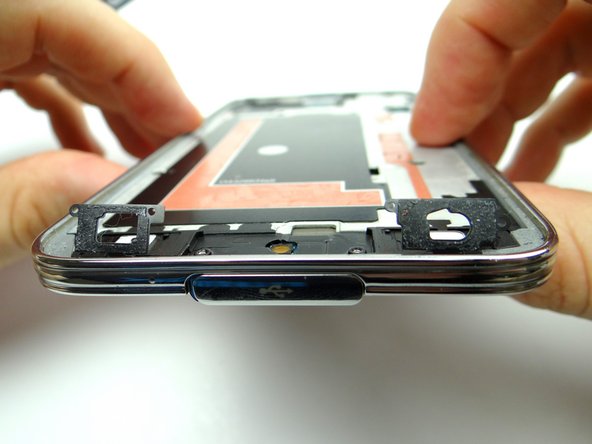
The screen is tightly adhered to the mid-frame with adhesive around its perimeter:
-
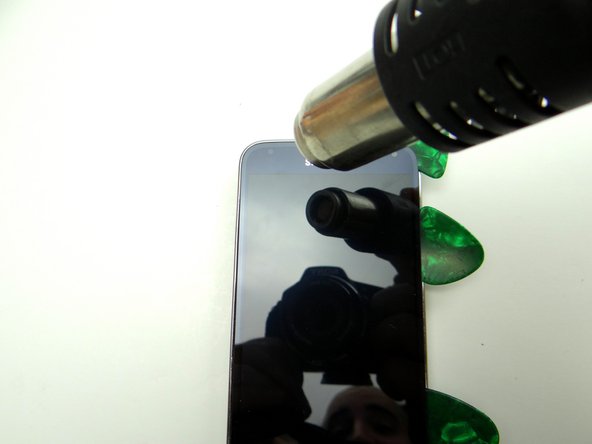
Picture 1: Heat the upper-right corner of the phone with low-level 100° Celsius heat for 60 seconds to loosen the adhesive.
-
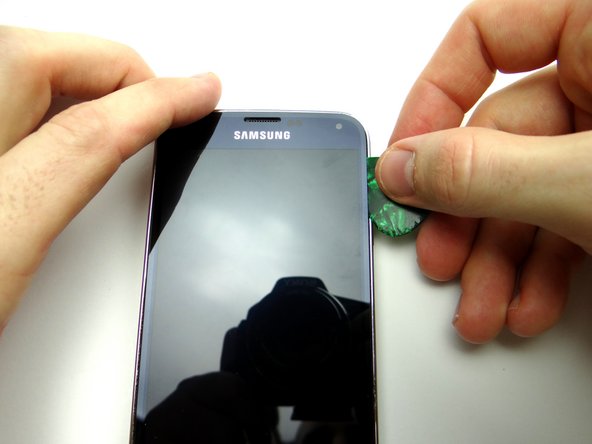
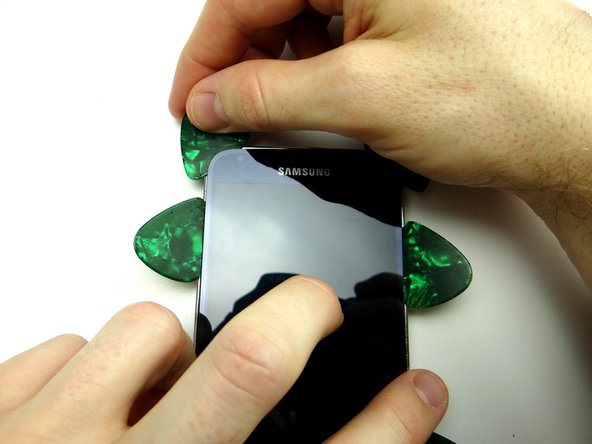
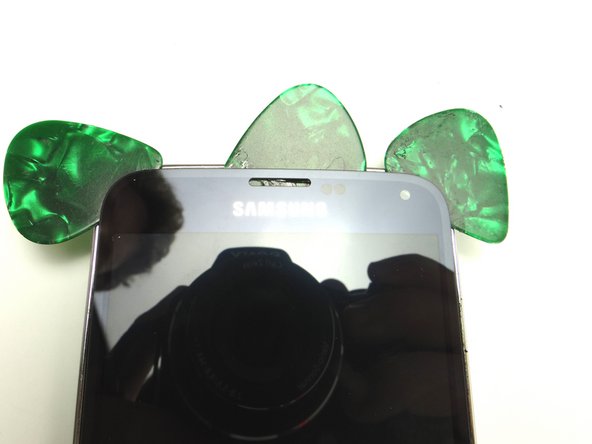
Pictures 2 & 3: Insert a guitar pick in the corner and run up and down two inches, cutting through the adhesive.
-
If you're discarding the screen, you can use 200° Celsius heat across the top edge and pry up the top half of the screen with a metal spudger.
-
-
-
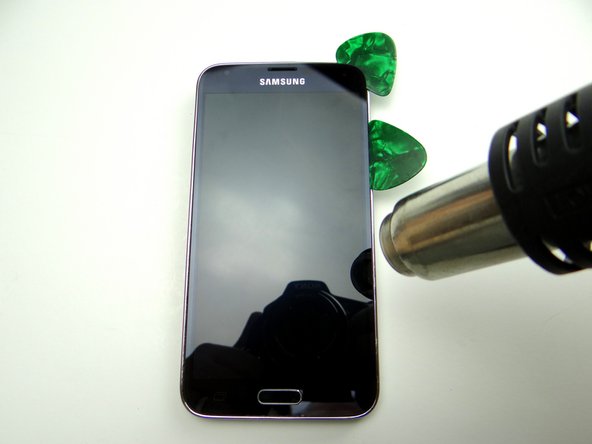
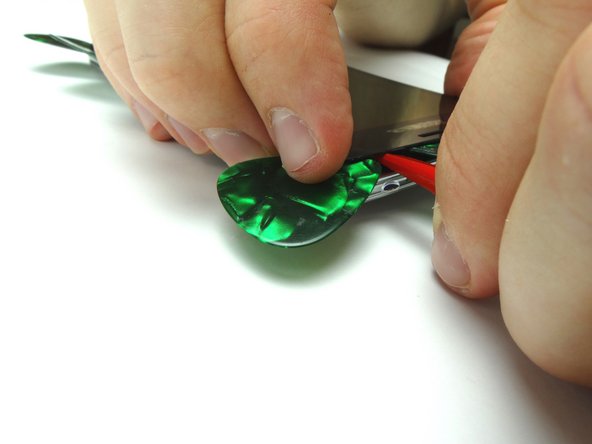
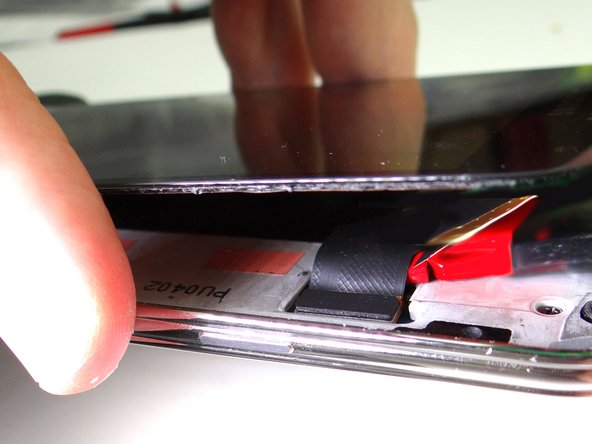
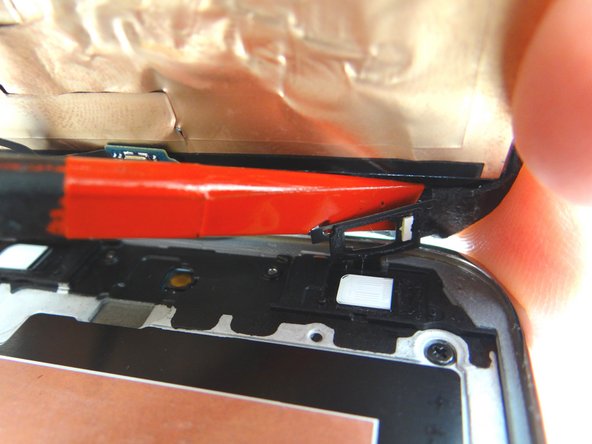
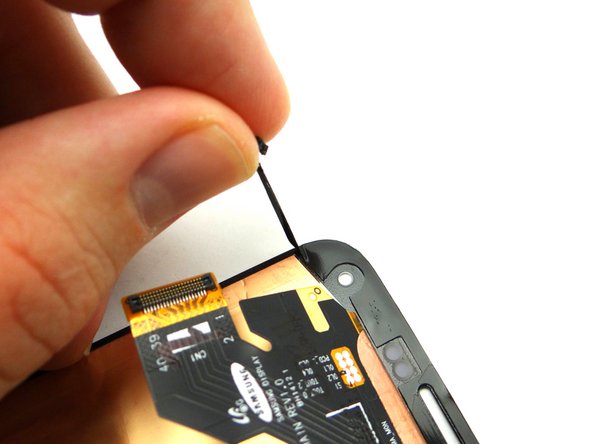
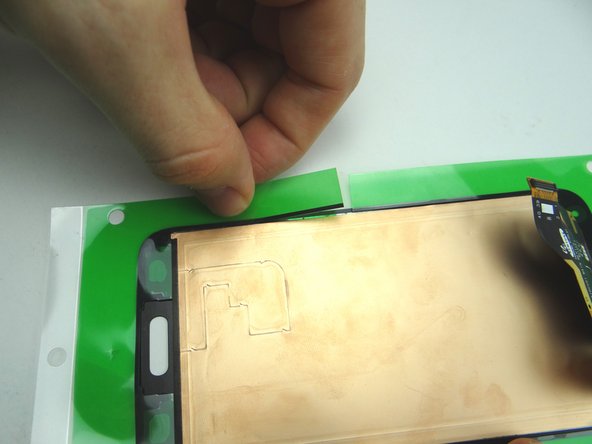
Picture 1: Insert a second guitar pick into the upper-right corner. Apply heat down the right side.
-
Picture 2: Use a third guitar pick to continue cutting through adhesive along the right side. Apply heat to the lower-right corner.
-
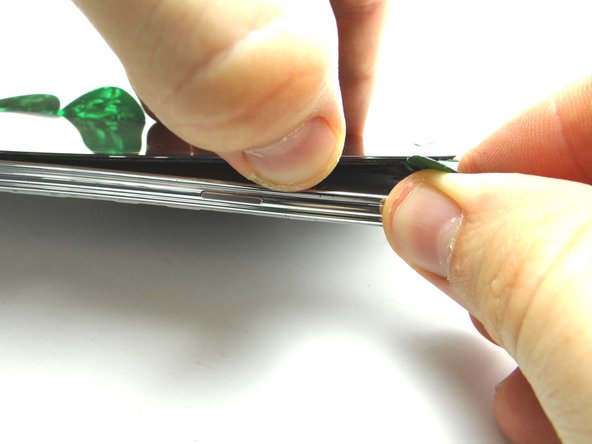
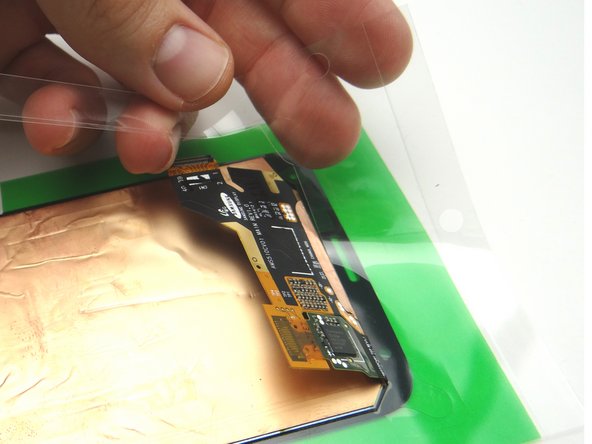
Picture 3: Work the third guitar pick until reaching the lower-right corner. Leave it there and insert a fourth pick just above it.
-
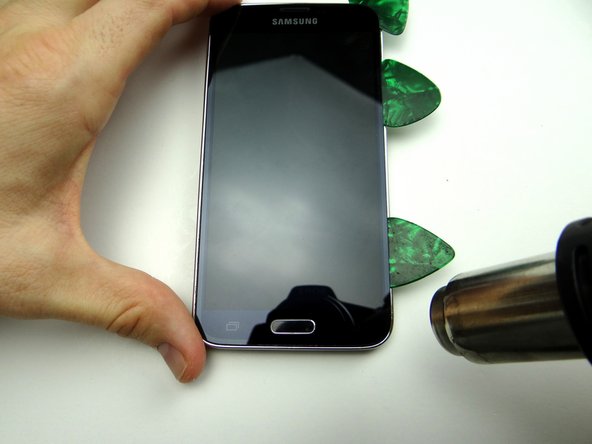
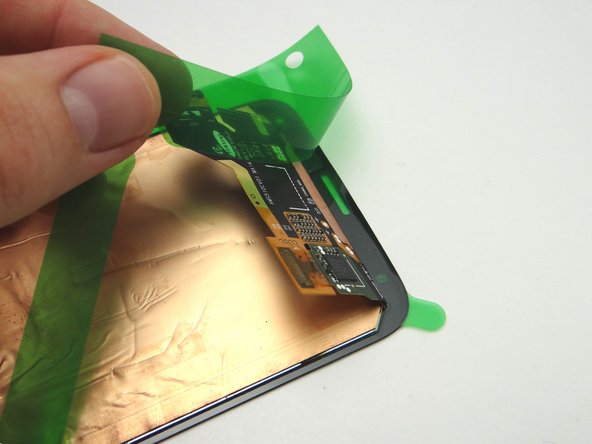
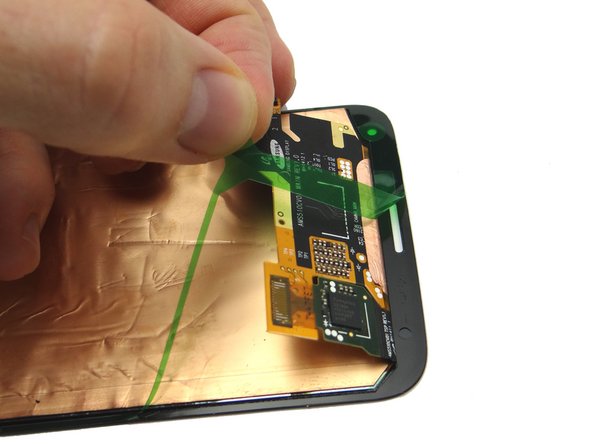
Avoid the multitask and escape soft keys & home button while working around the bottom.
-
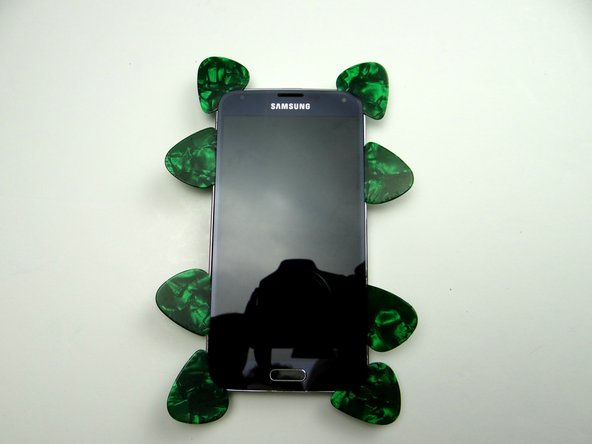
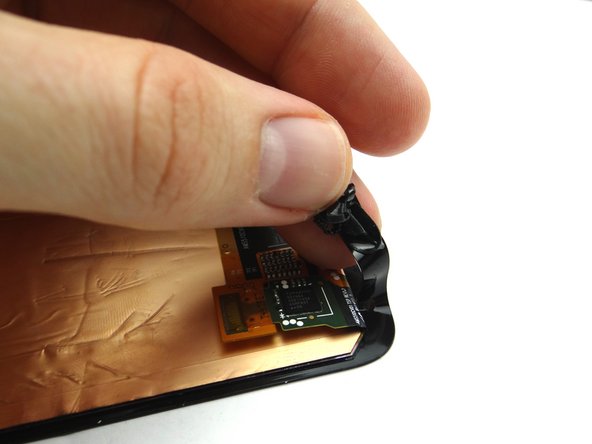
You can use a credit card or card tool to hold the screen open in addition to guitar picks.
-
-
-
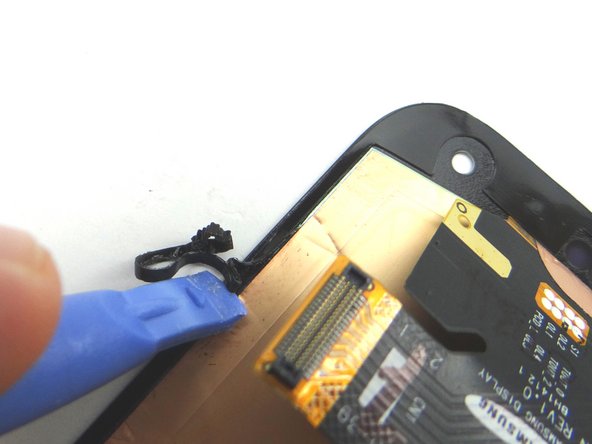
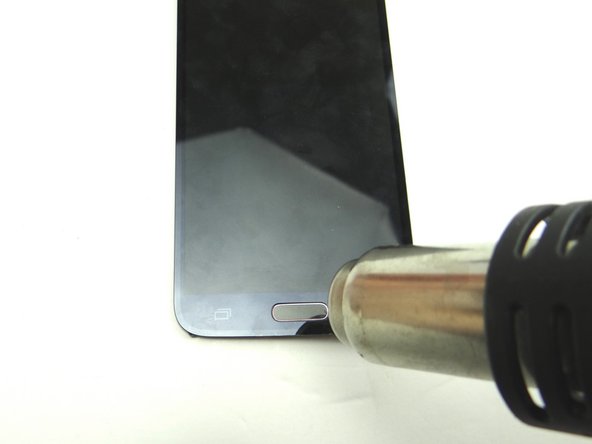
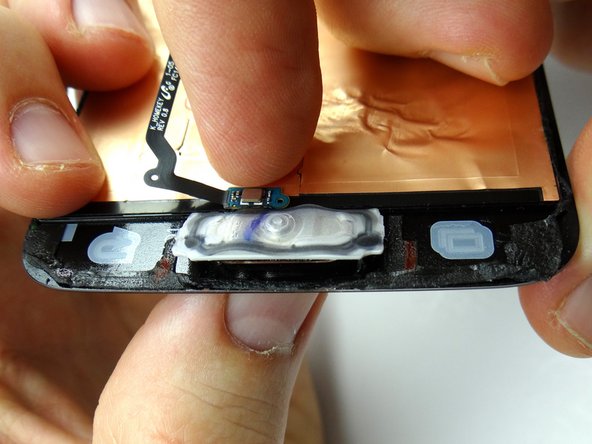
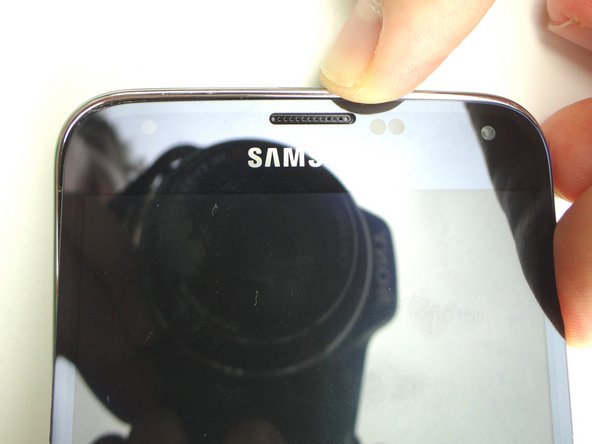
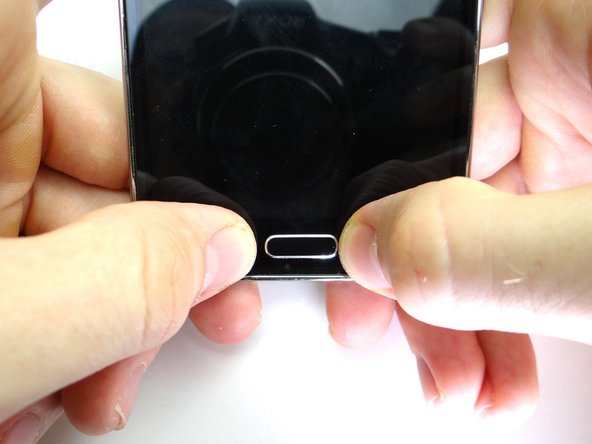
Picture 1: Heat the top side of the home button with low-level 100° Celsius heat for 30 seconds.
-
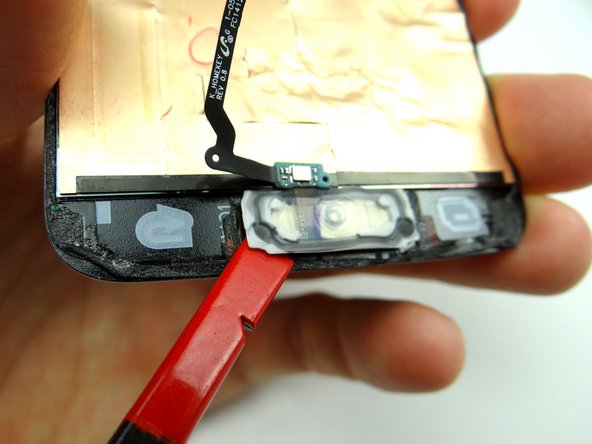
Picture 2: Use a spudger to wedge underneath the home button.
-
If you're discarding the screen, you can use an iSesamo to remove the home button.
-
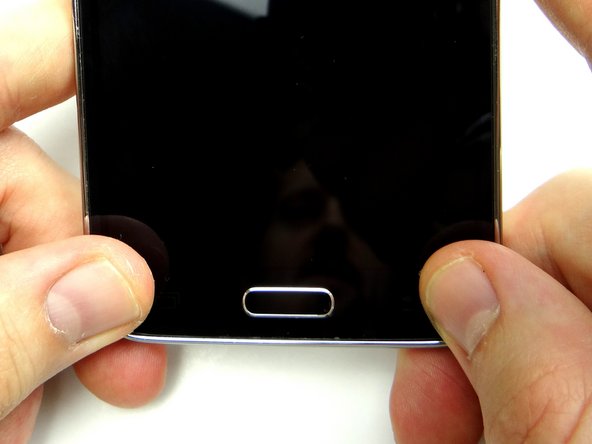
Picture 3: Push the home button through the front while peeling up on the back. Make sure the adhesive holding it to the screen comes up with the home button. You'll need it to adhere the home button to the screen during reassembly.
-
Place home button in COMPARTMENT C.
-
-
-
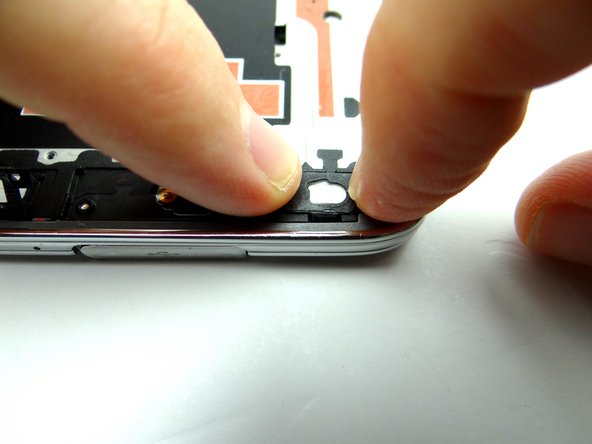
Pictures 1 and 2: Reseat escape and multitask soft key spacers, if needed.
-
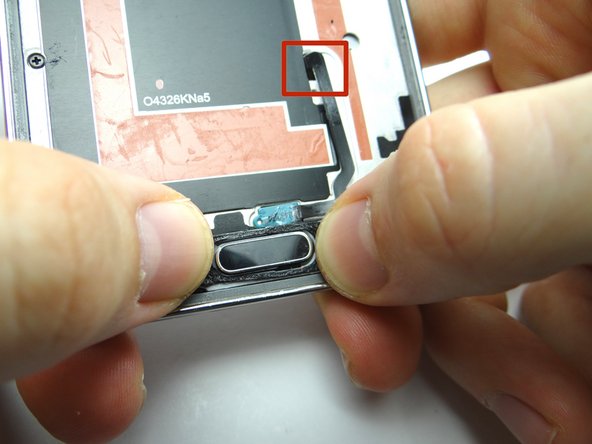
Picture 3: Seat the home button from COMPARTMENT C: first feed home button cable through mid-frame, then position home button on mid-frame.
-
-
-
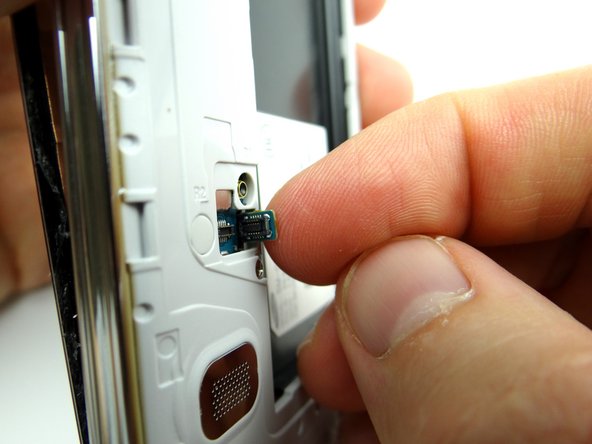
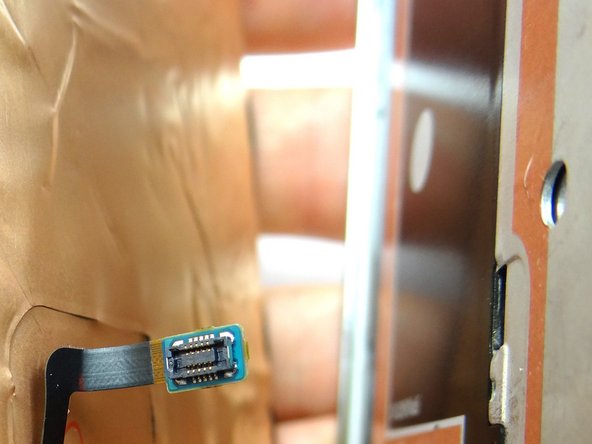
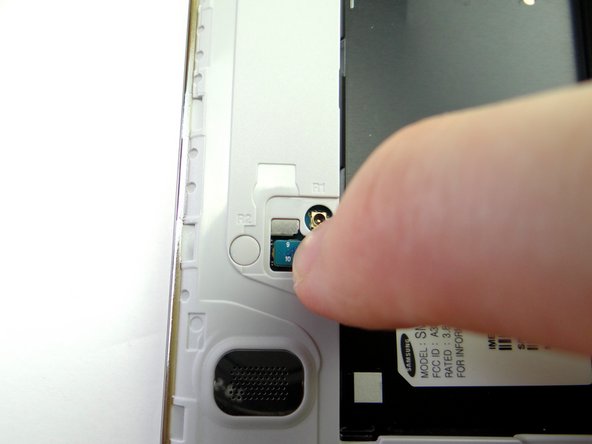
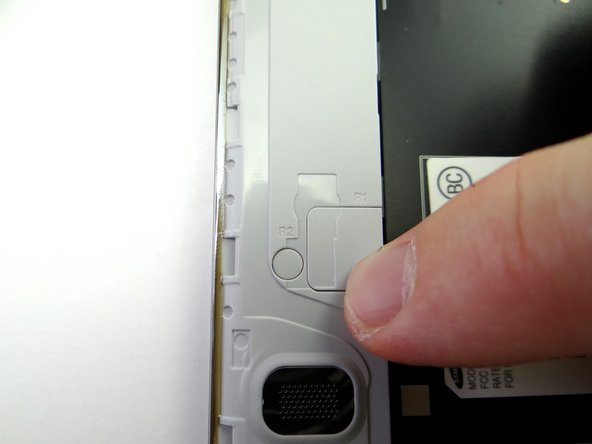
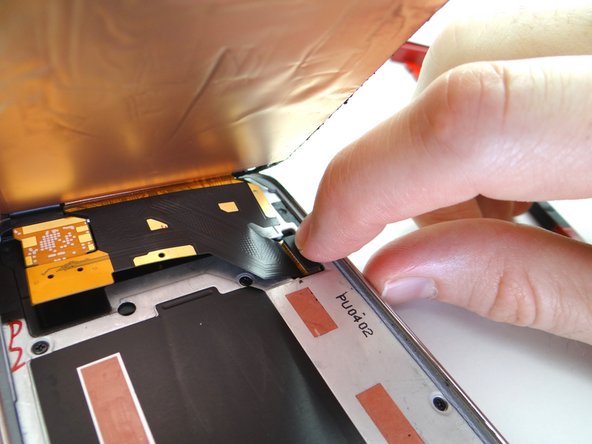
On the underside, connect the home button to the logic board.
-
From COMPARTMENT B, snap the home button connector cover back into place.
-
-
-
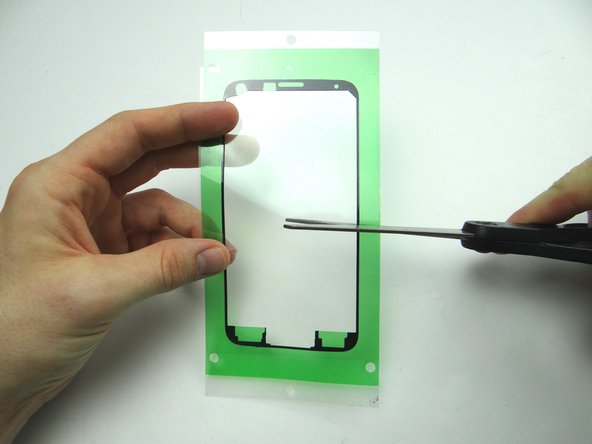
Cut adhesive in half so you can lay the top and bottom separately.
-
-
-
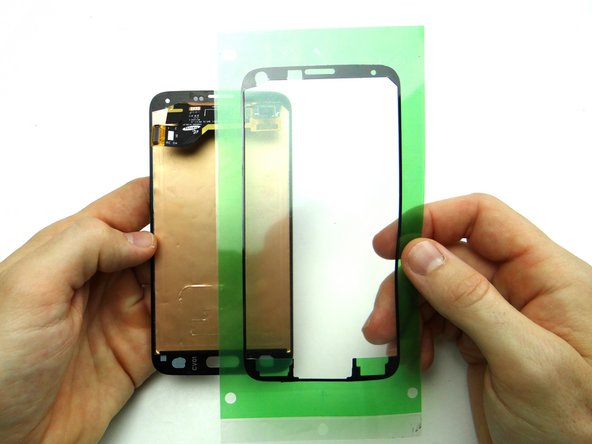
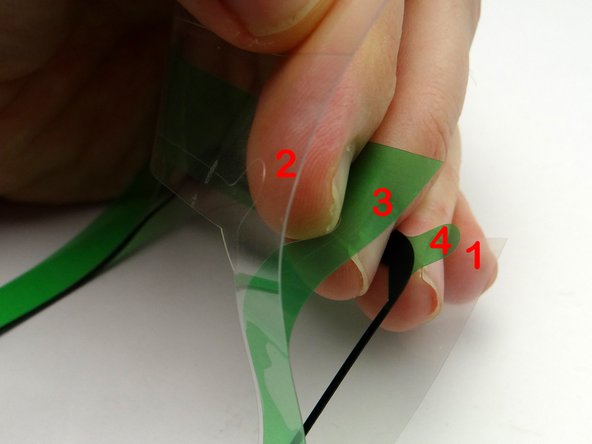
Picture 1: The adhesive has an inner backing, labelled '1', and three layers of cutout backing, labelled '2', '3' and '4' .
-
Picture 2: Peel off inner backing labelled '1' from the top half of the adhesive. Position the top half of the adhesive starting at the top edge of the screen. Make sure the adhesive strips aren't hanging over the edges.
-
Picture 3: Make sure the openings for the front camera, sensors, and earpiece speaker are properly aligned.
-
-
-
Picture 1: Put pressure on the multitask and escape soft key buttons.
-
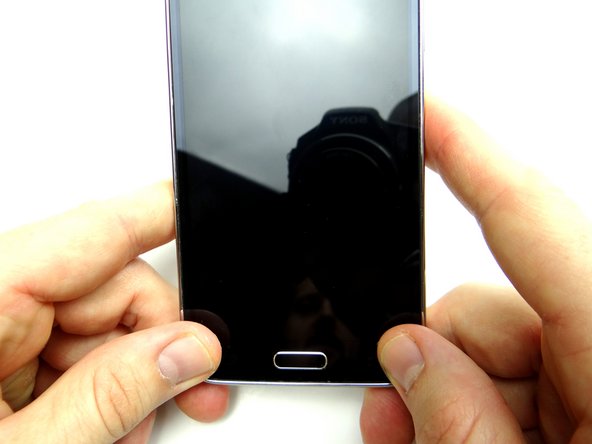
Picture 2: Place pressure on either side of the home button.
-
Picture 3: Work your way around the perimeter of the screen a few times to ensure a tight seal.
-
Let the adhesive cure for at least 30 minutes before returning to customer.
-