
-
-
Power down the device.
-
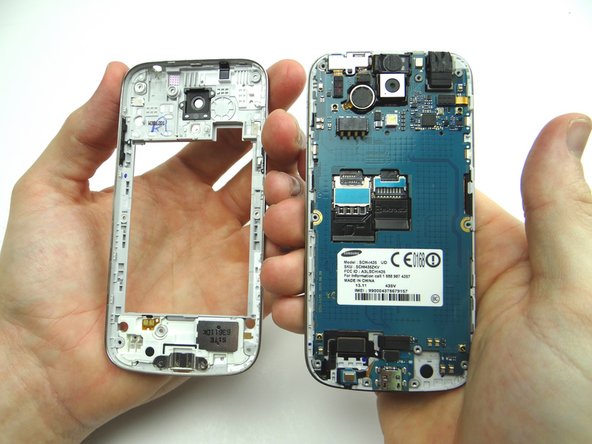
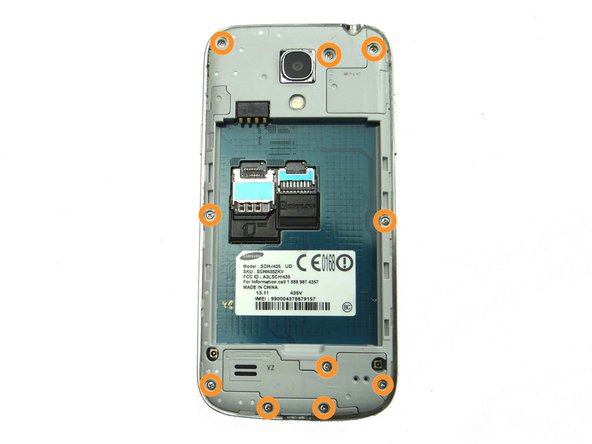
Remove battery cover and battery. Place in ZONE I.
-
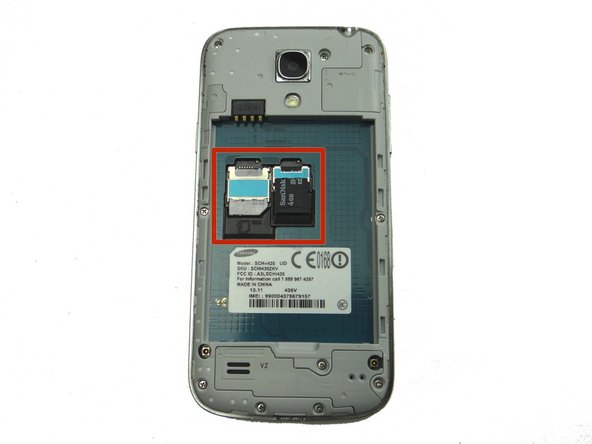
Remove SIM card and SD card. Place in COMPARTMENT A.
-
-
-
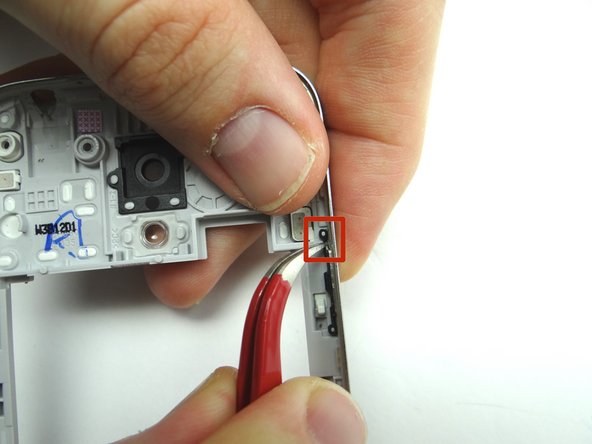
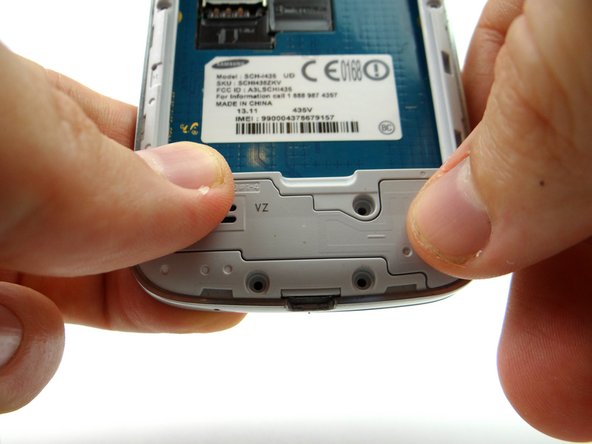
Picture 1: Peel up the top rubber attachment head (red square) with curved-tip tweezers. Don't squeeze too hard and peel up slowly to avoid tearing the rubber.
-
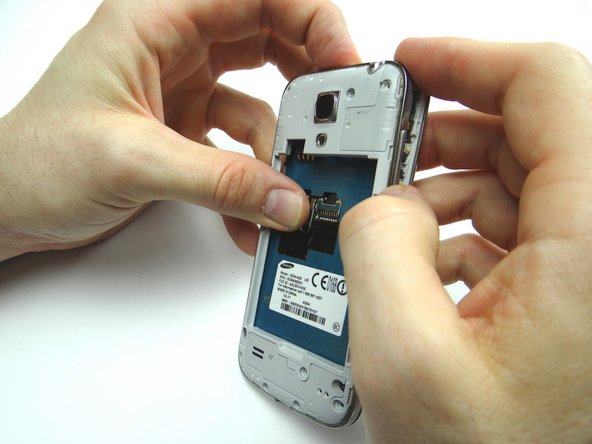
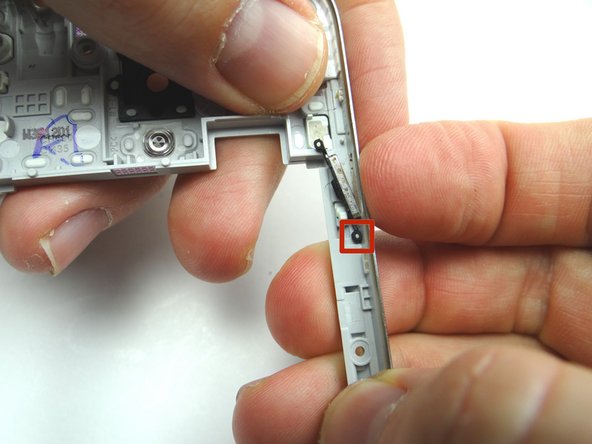
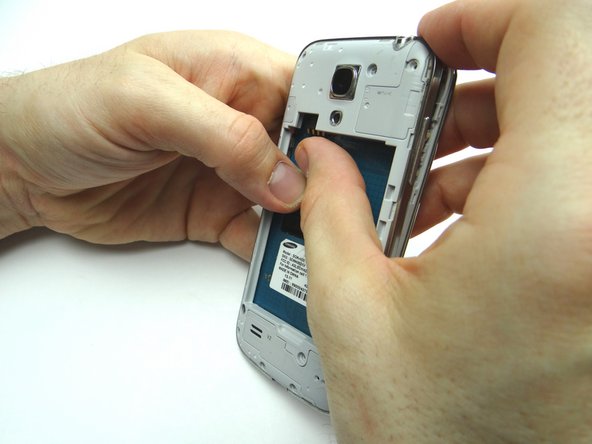
Picture 2: Push power button towards inside of mid-frame, then carefully lift up to free the the button from the bottom tab.
-
Place in COMPARTMENT C.
-
-
-
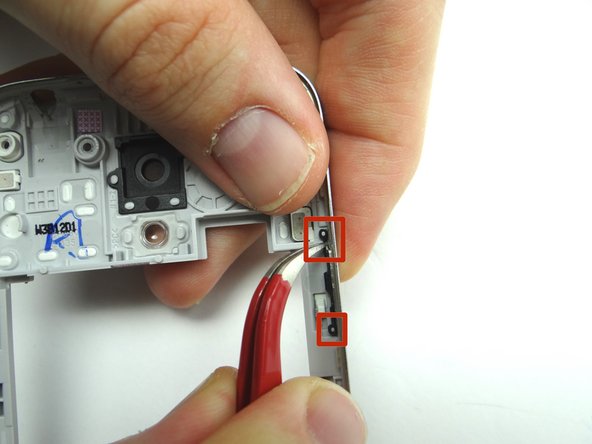
From COMPARTMENT C, seat power button. Attach to the top and bottom tabs in the red squares.
-
-
-
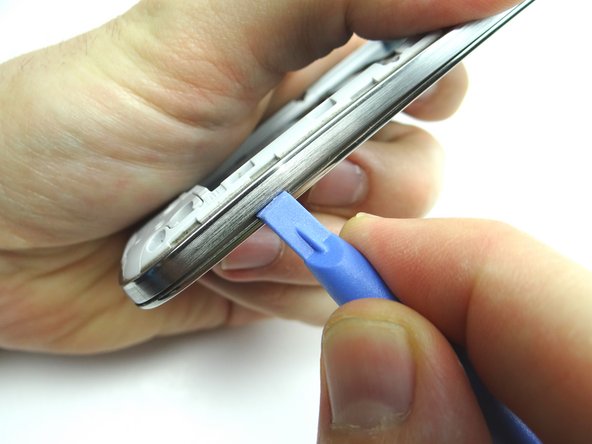
Picture 1: Line up mid-frame with front panel. Seat bottom near charging port first.
-
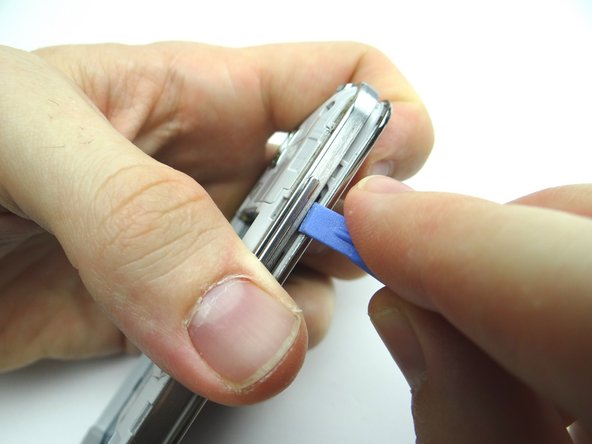
Picture 2: Work your way to the top.
-
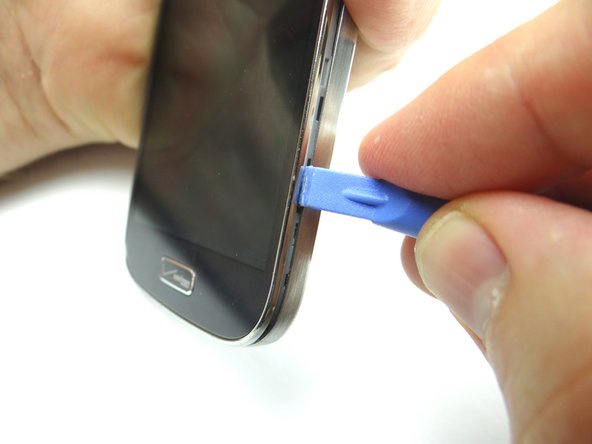
Picture 3: Check the perimeter to make sure all edges are snapped into place.
-


Almost done!
Finish Line