-
-
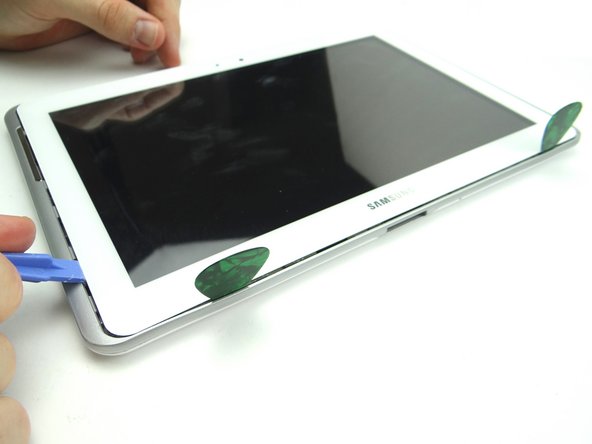
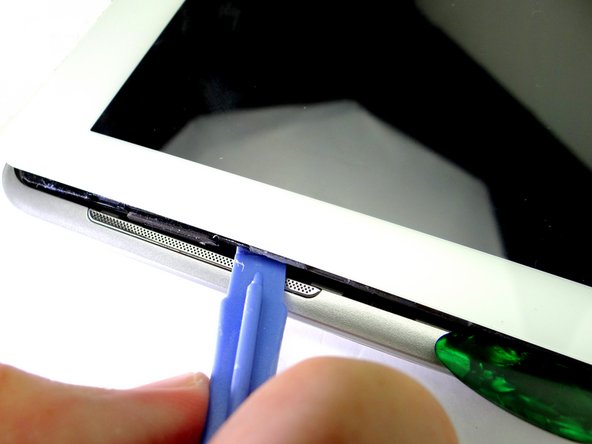
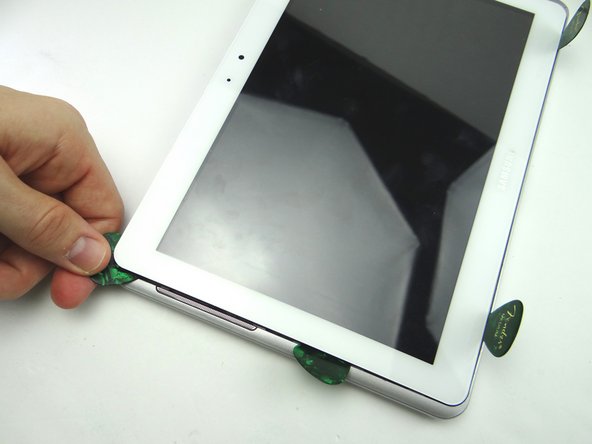
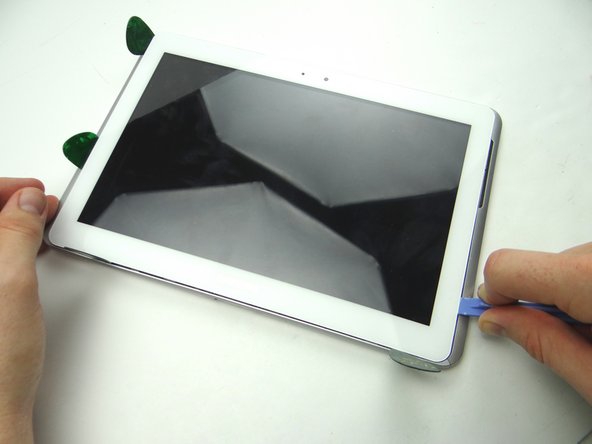
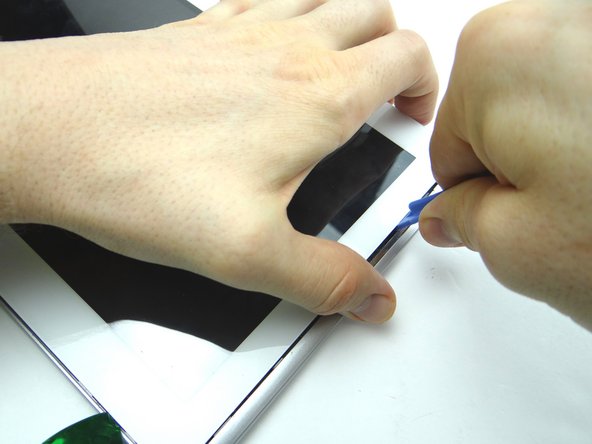
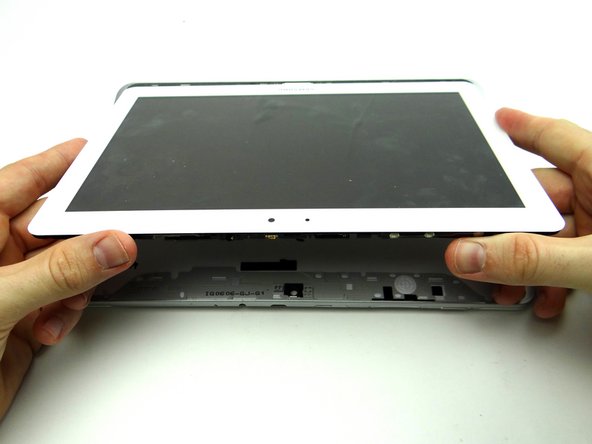
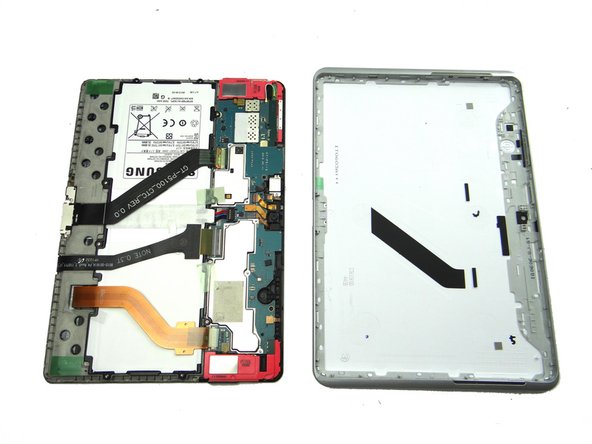
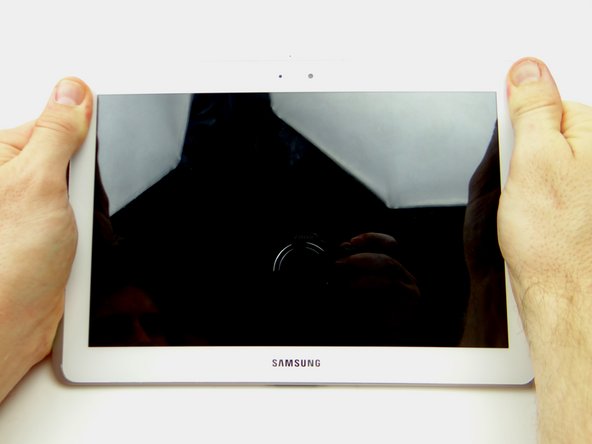
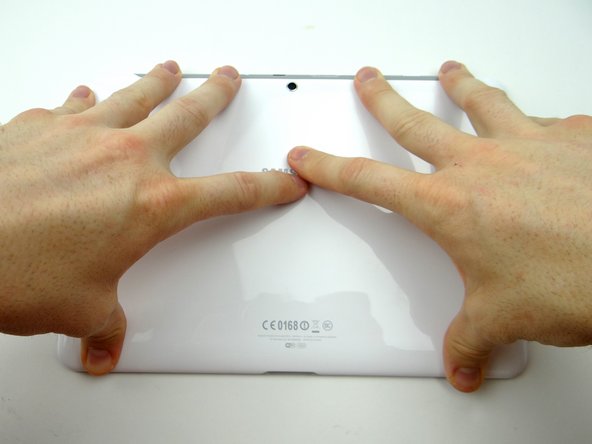
Pictures 1 & 2: Insert a wide blue pry tool between the rear case and front panel at the bottom of the tablet, an inch left of the Samsung logo. Sweep left, then insert a guitar pick to hold the left side open. Work your way right with the blue pry tool.
-
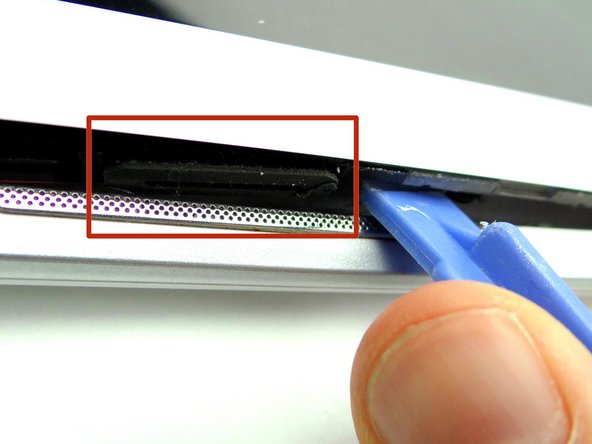
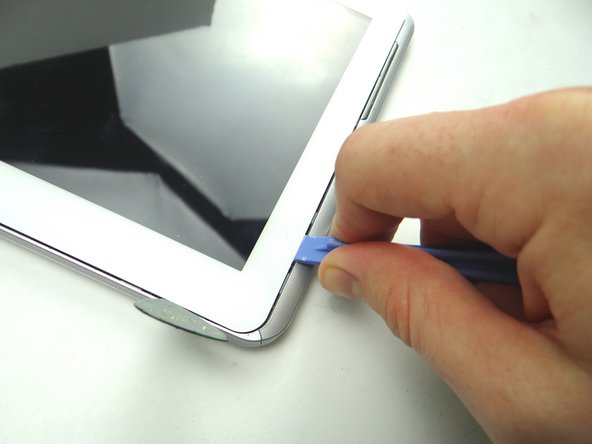
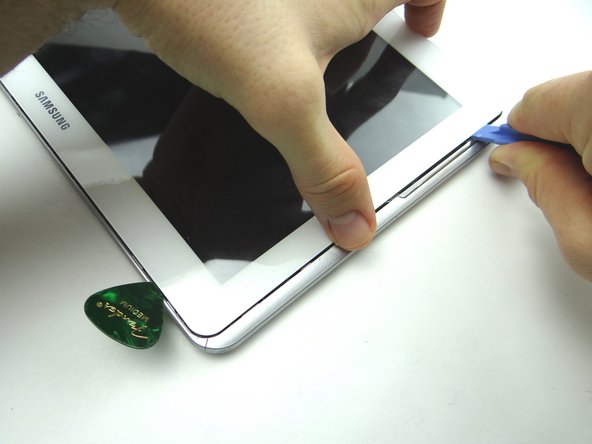
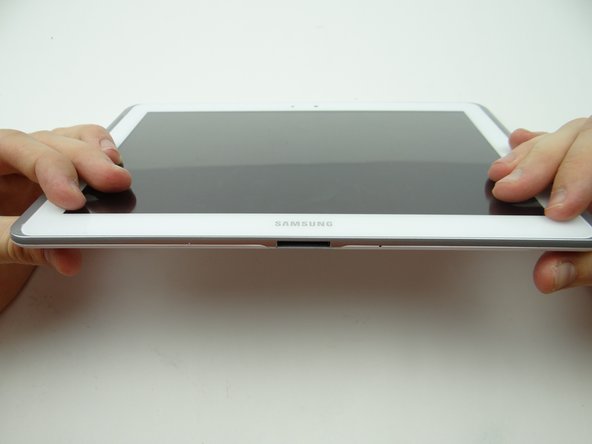
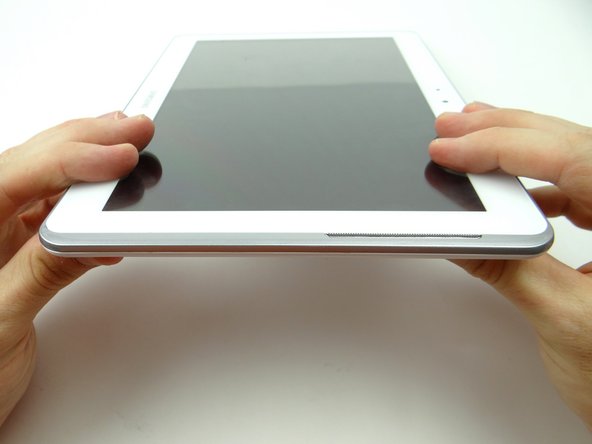
Picture 3: Insert a guitar pick to hold the right side open.
-
-
-
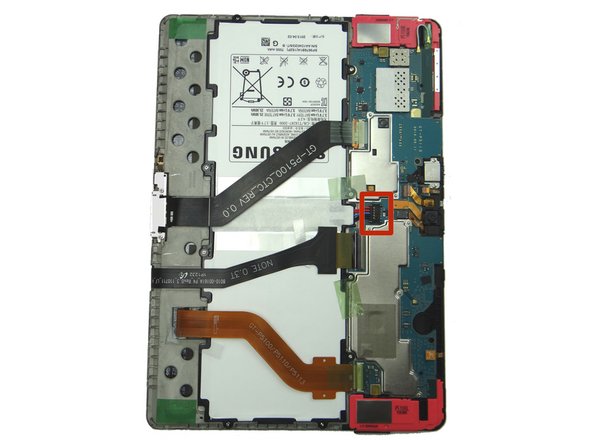
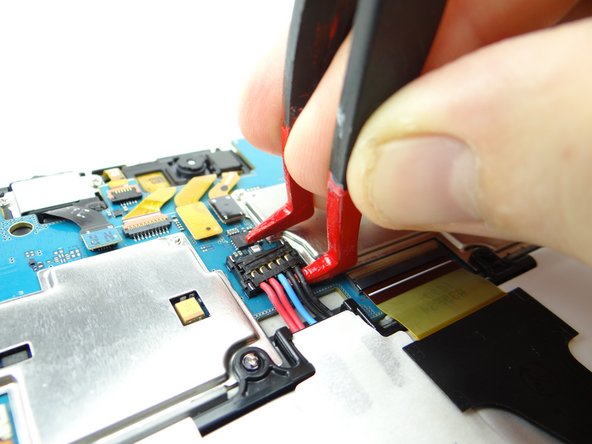
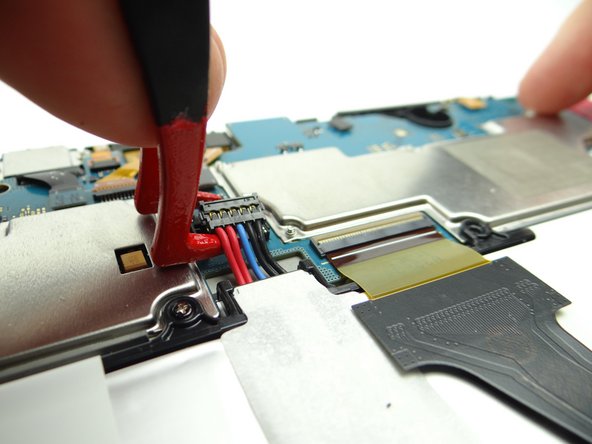
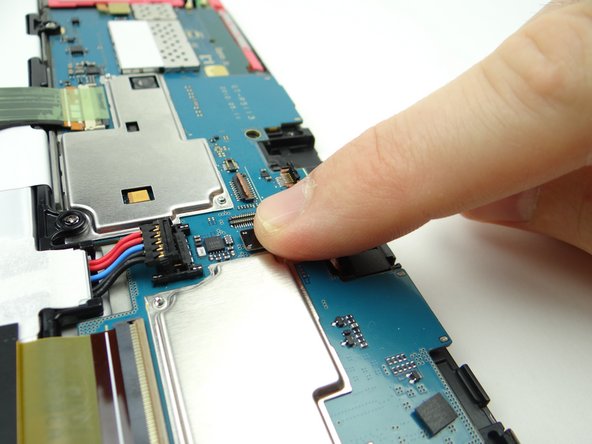
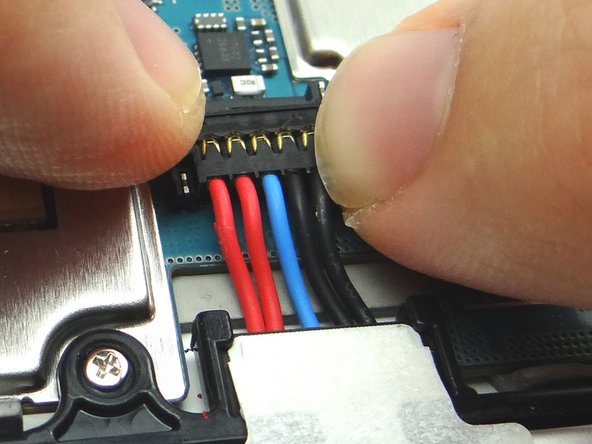
Battery cable head is fragile:
-
Use one prong of the plastic tweezers to wedge under the right side of the battery connector and pull it up slightly.
-
Lift battery connector straight up from the left side to dislodge it.
-
-
-
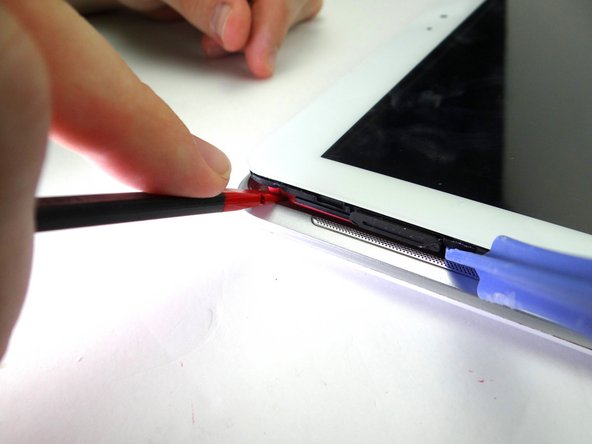
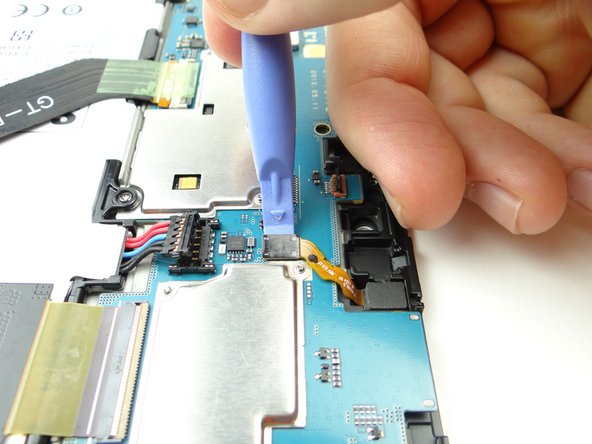
Picture 1: Use blue pry tool to disconnect sensor cable.
-
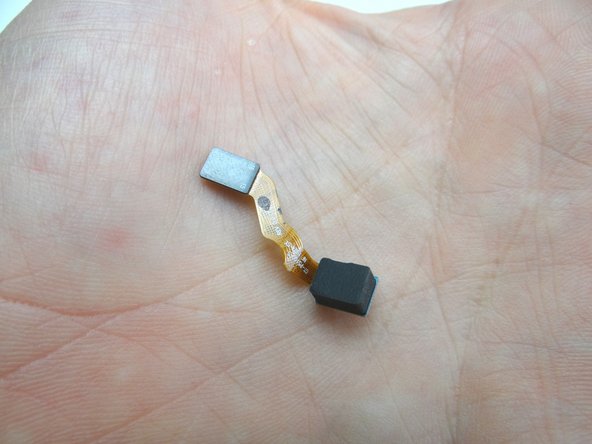
Picture 2: Pinch cable as close to sensor as possible and gently pull it free.
-
Picture 3: Place sensor in COMPARTMENT D.
-
-
-
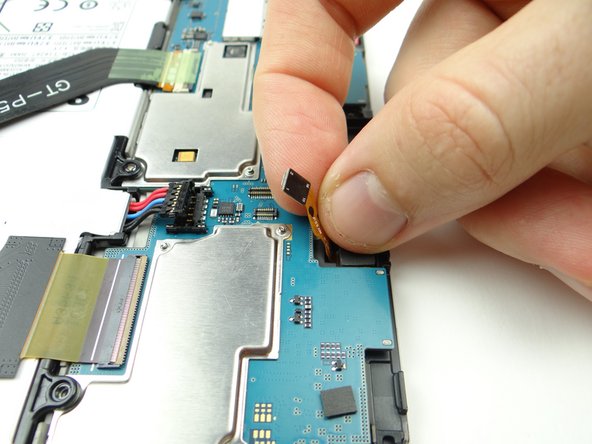
From COMPARTMENT D:
-
Push sensor back into its socket.
-
Connect sensor cable to logic board.
-
-
-
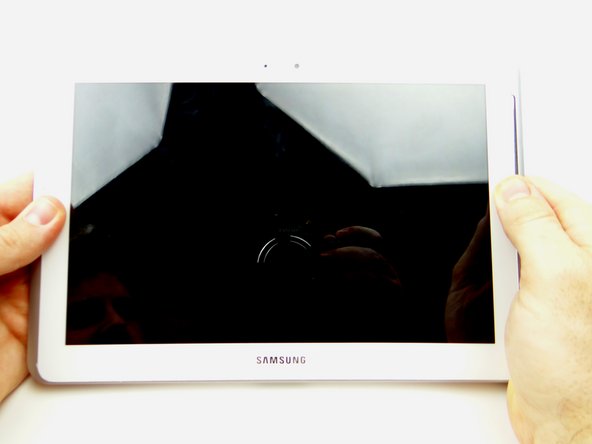
Seat front panel on rear case, charging port first.
-
Push center clips into place.
-